
Bikes Blog
TYRE AND TUBE REMOVAL AND INSTALLATION
Oct
October 04, 2020 / TIRE AND INNER TUBE SERVICE
TYRE AND TUBE REMOVAL AND INSTALLATION. This text will talk about the elimination and set up of tyres and tubes.
1
WHEEL REMOVAL
WHAT DO I NEED TO KNOW HOW TO DO?WHAT TOOLS DO I NEED?
To take away a tyre and tube, the wheel have to be faraway from the bike. See Wheel Removing and Set up for a assessment of this course of.2
REMOVING TIRE AND TUBE FROM RIM
The frequent bicycle tire known as a “clincher” tire, and in made with bead on the within fringe of the tire. The bead suits snugly into the wheel rim. Because the interior tube is inflated, the tire bead is pushed in opposition to the “bead seat” of the rim, the portion of the rim that’s hooked to carry the bead. The sizing of the rim bead seat and the tire bead should match. There are presently many various bead diameter requirements, and none are interchangeable.
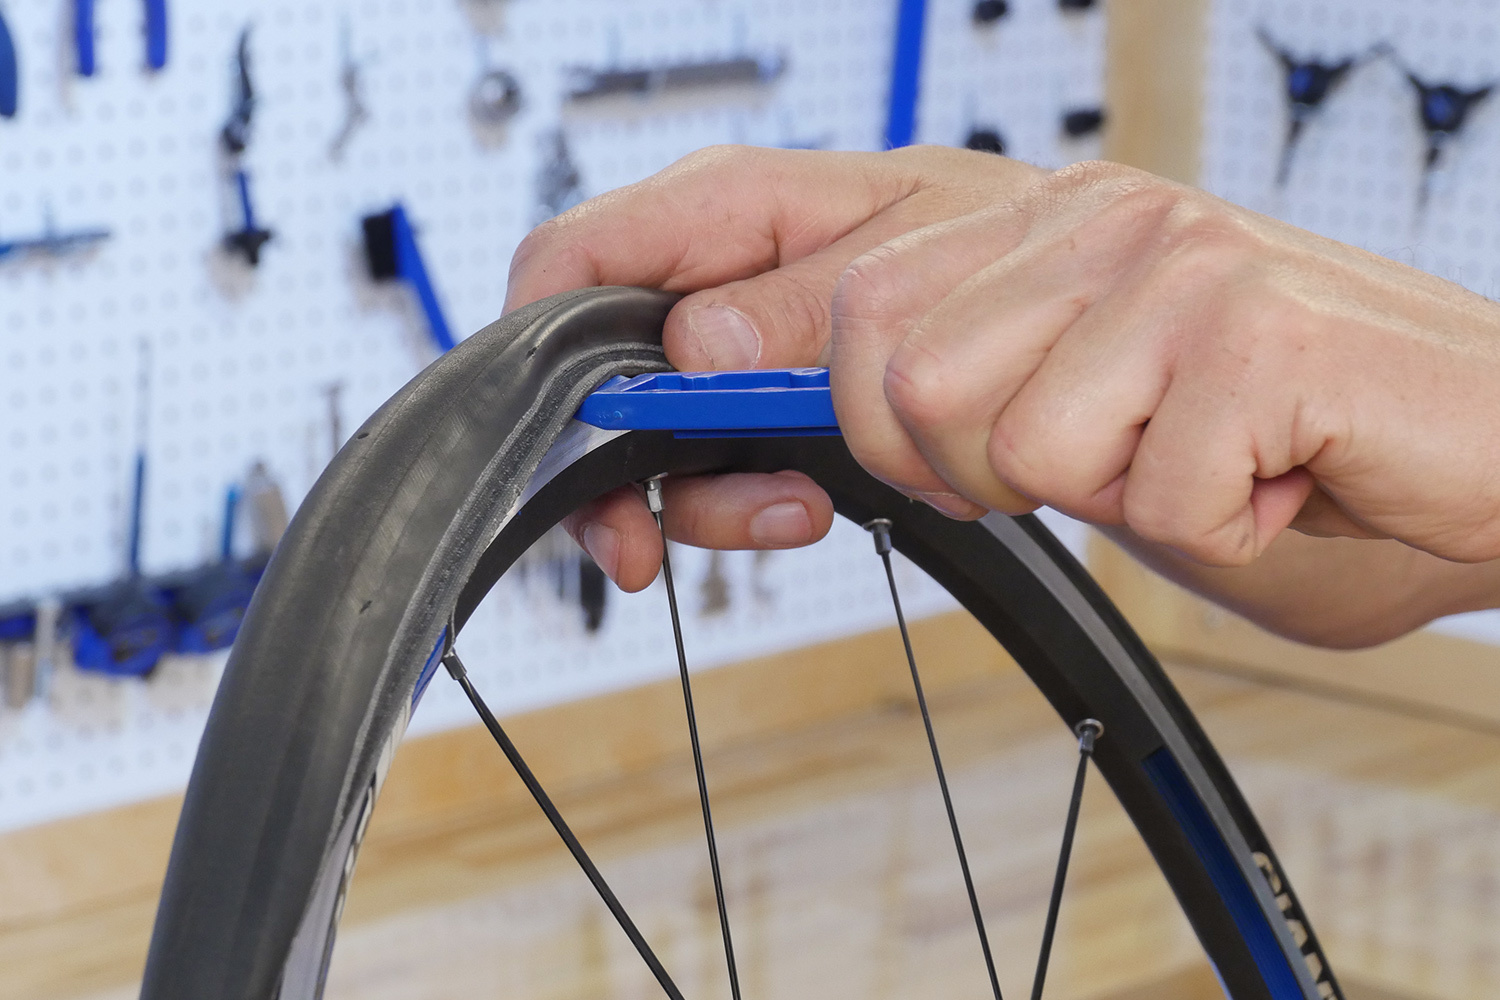
As a result of tyre beads is usually a tight match within the rim, it’s generally essential to tire levers to pry tire bead up and over rim sidewall. Don’t use a screwdriver, knife, or different sharp object, which could harm tire or tube. Absolutely threaded valve shafts might have a locking nut subsequent to rim. Loosen and take away locking nut earlier than deflating.
- Deflate tire utterly. Even a small quantity of air left within the tube could make it tougher to get the tire off. For greatest outcomes, press downward on wheel whereas miserable the valve.
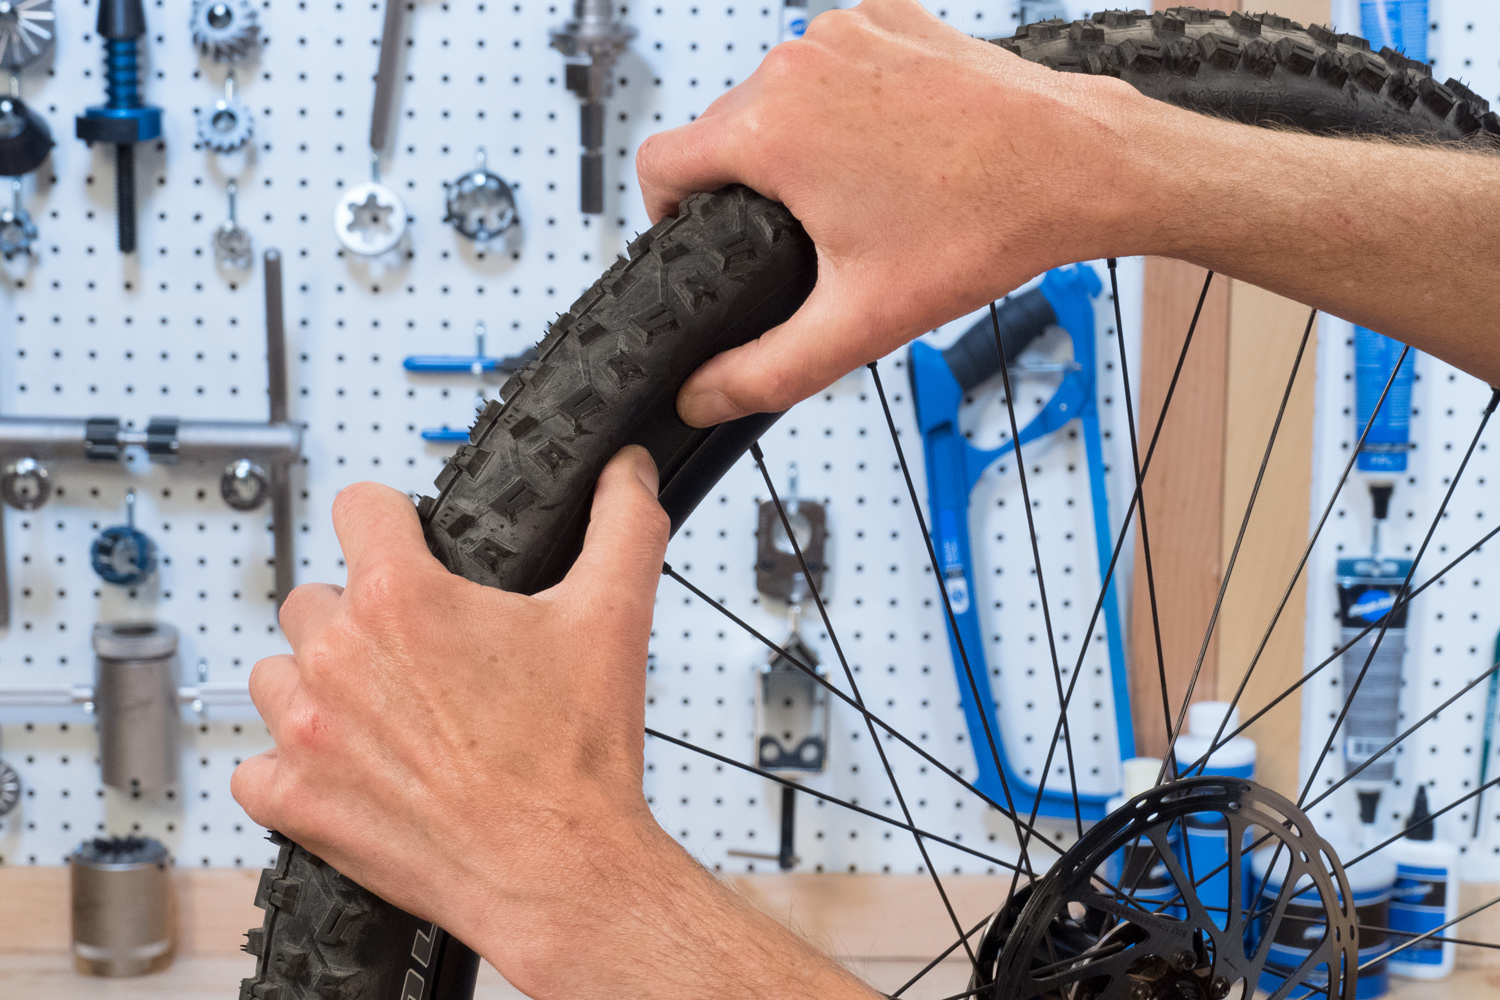
- Push one bead of tire towards rim middle. The tire bead will probably be pressed tight in opposition to rim. Pushing it inwards loosens the bead from the rim. Repeat on different bead.
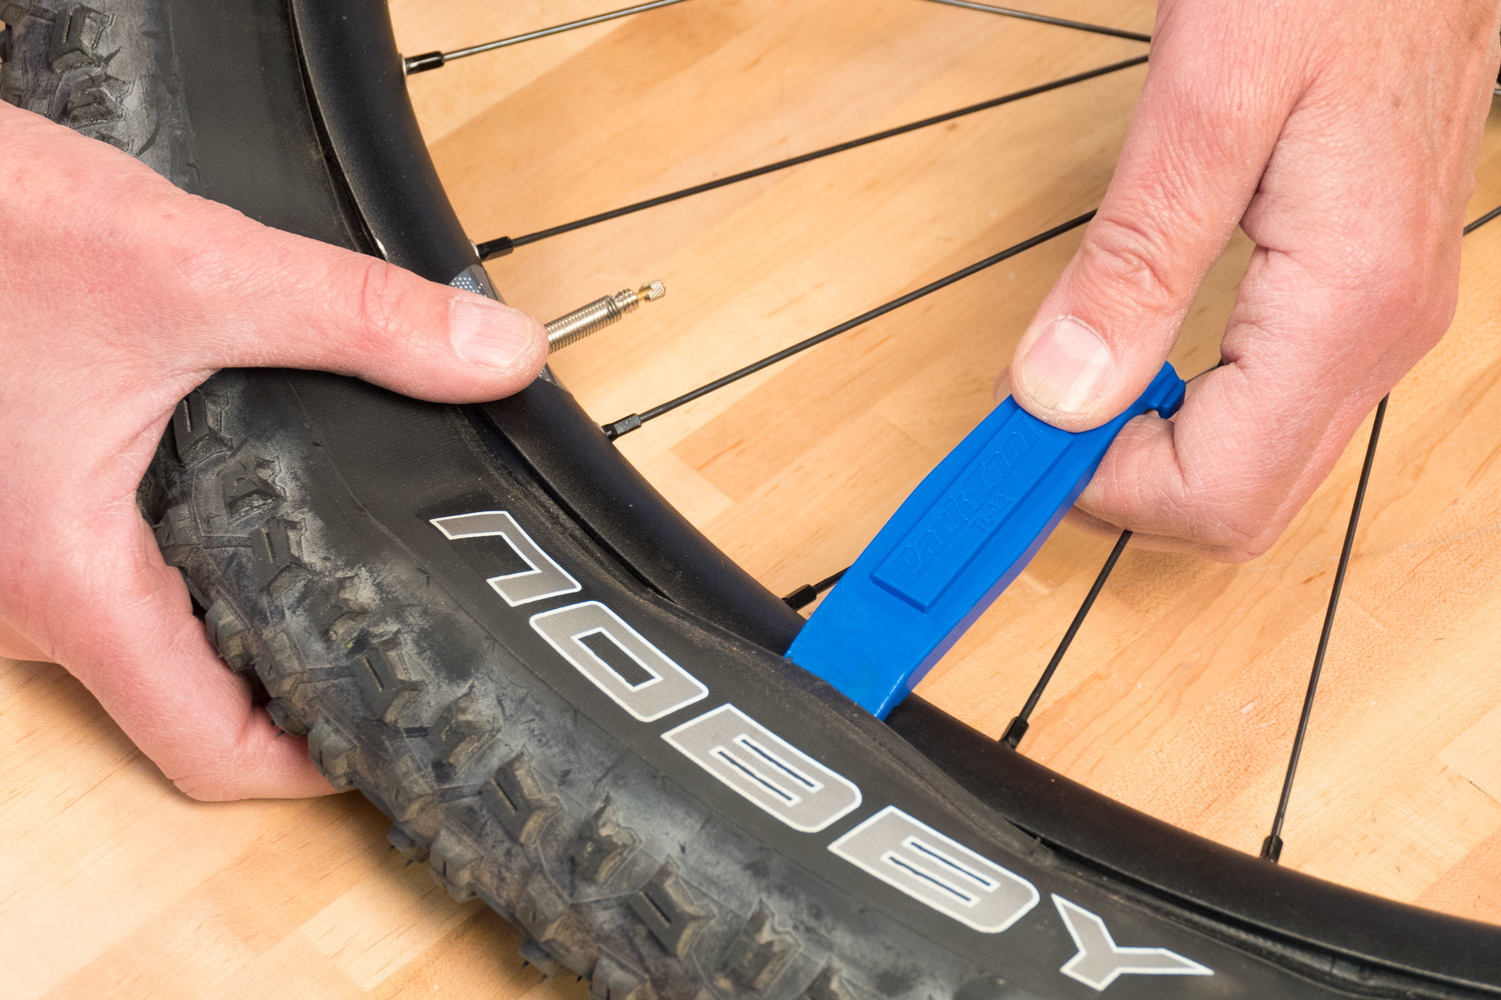
- Interact one tire lever beneath bead of tire. Interact second lever 1-2″ (25-50mm) from first lever then pull each levers towards spokes to carry bead off rim. Disengage one lever. Transfer it two inches (5cm) alongside the rim and interact lever within the bead. Pull lever to carry subsequent part of bead off rim.
- Repeat partaking the lever till the bead loosens. Then slide the lever alongside the rim beneath the bead.
- Beginning reverse the valve, pull interior tube from tire. Carry valve from valve gap and take away tube from wheel.
- Take away second bead from rim, which removes tire utterly from rim. To totally examine the tube and tire, it’s best to take away each utterly.
3
INNER TUBE INSPECTION
When servicing a flat tire, all the time examine tire and tube fastidiously to find the reason for failure. This can assist stop future flats from the identical trigger.
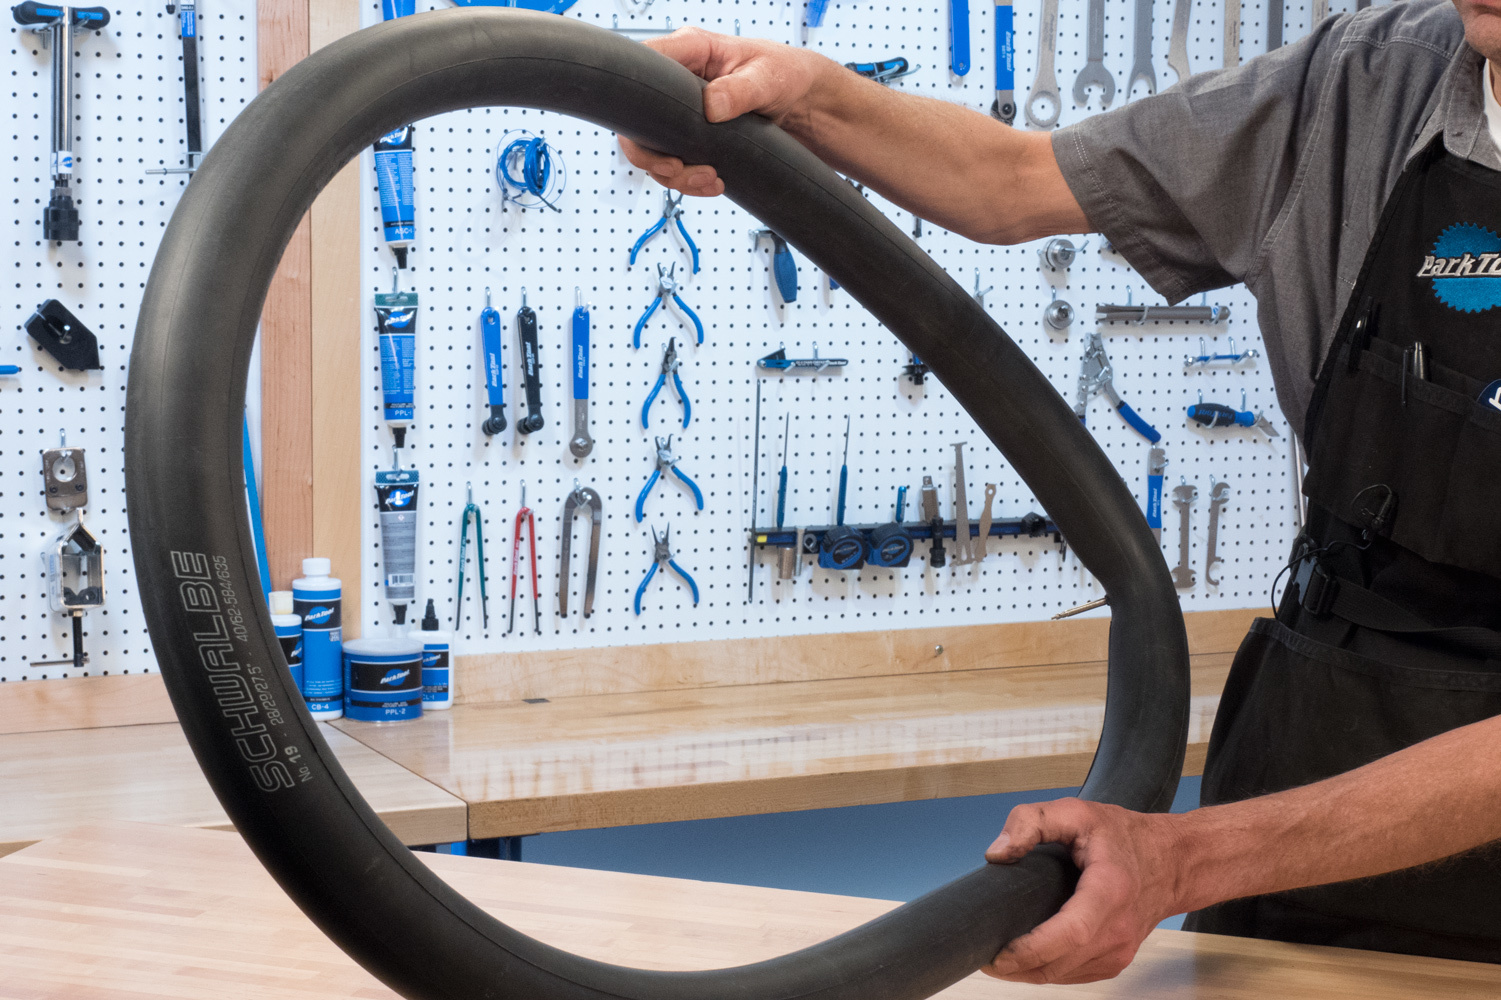
- If doable, inflate interior tube to twice its regular width.
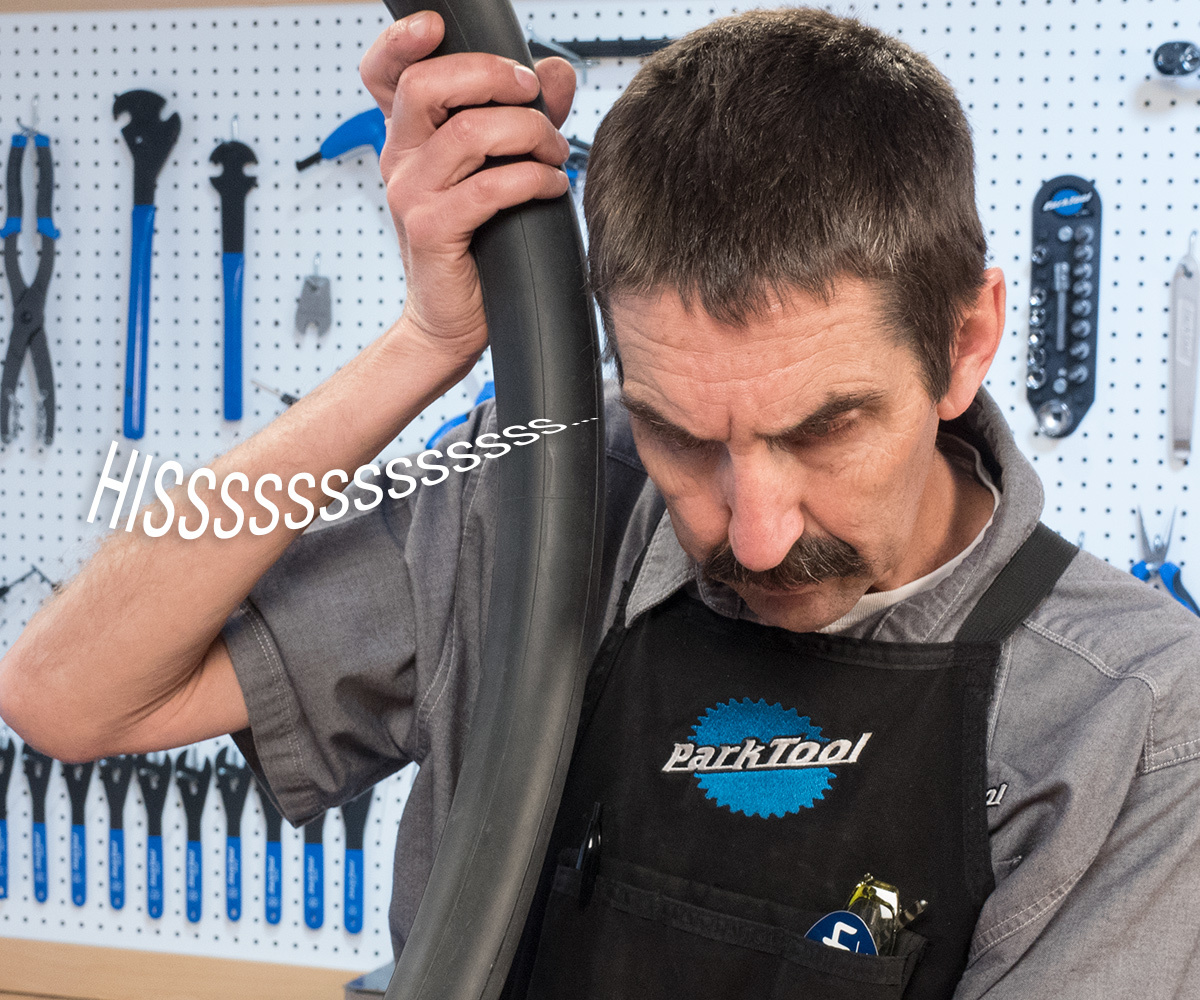
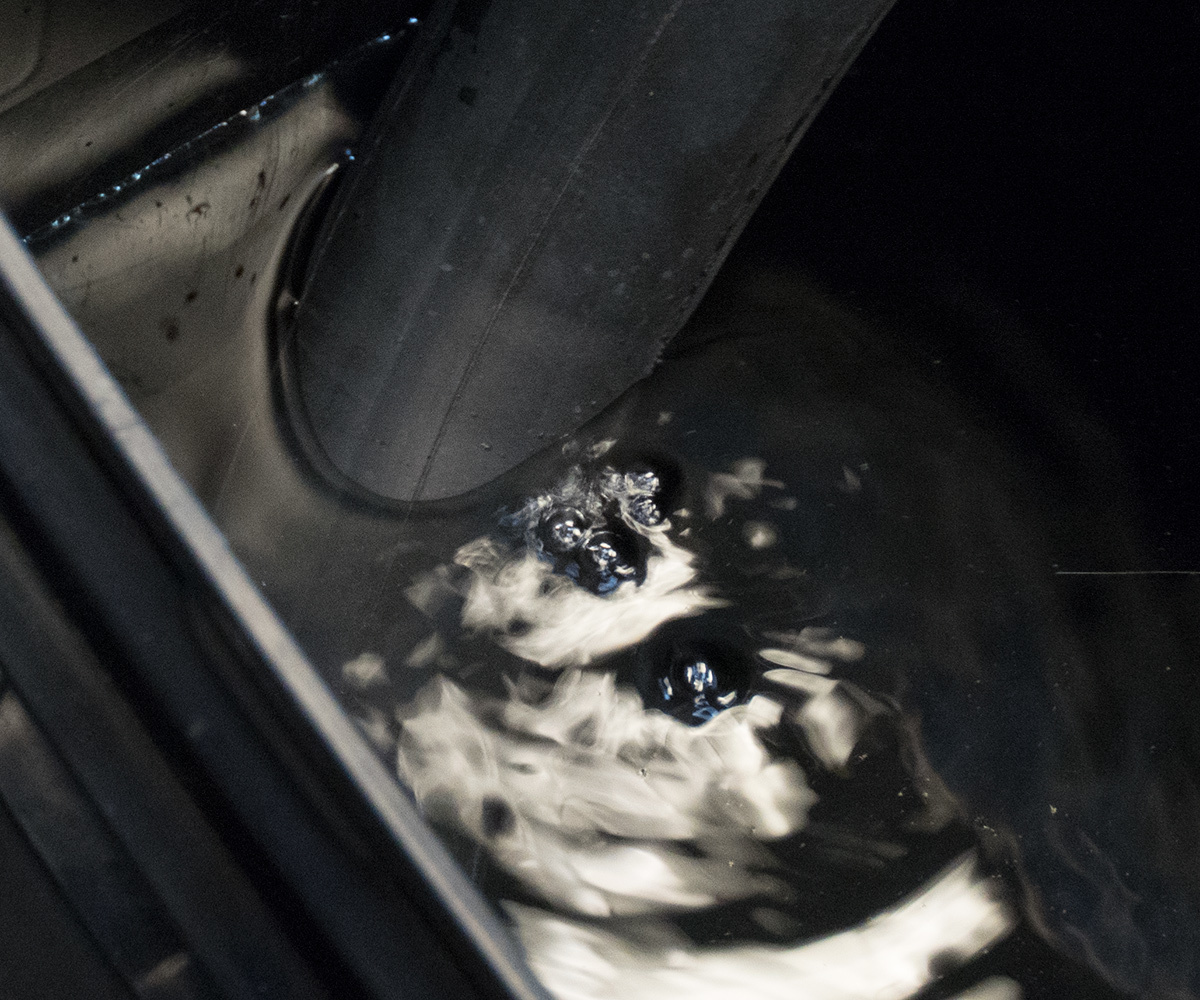
- Examine for air leaks by holding tube near the delicate pores and skin of lips or by holding tube close to your ear to listen to air escaping. Transfer the tube round its circumference. If these steps don’t work, submerge tube in water and look ahead to bubbles on the gap.
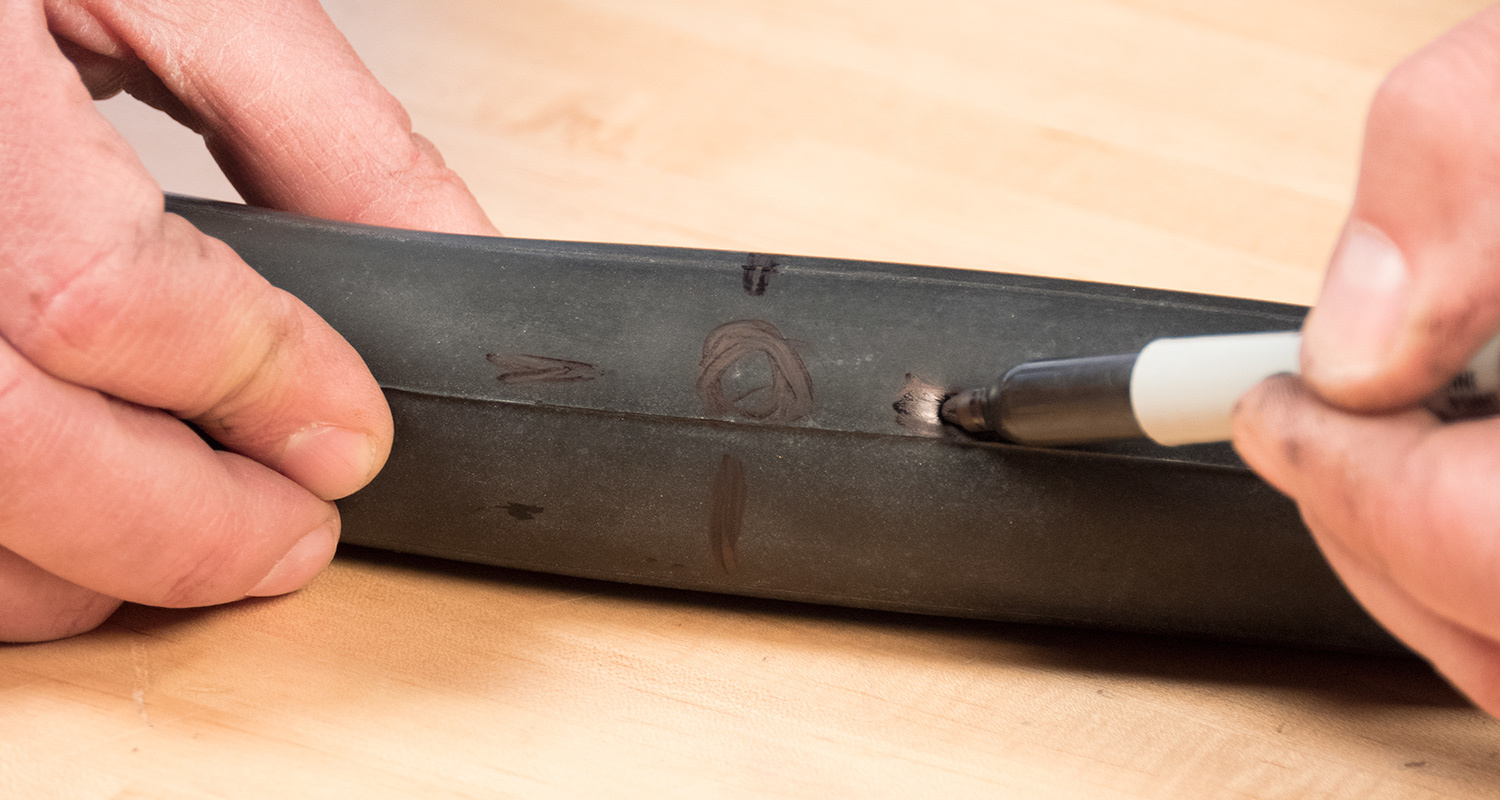
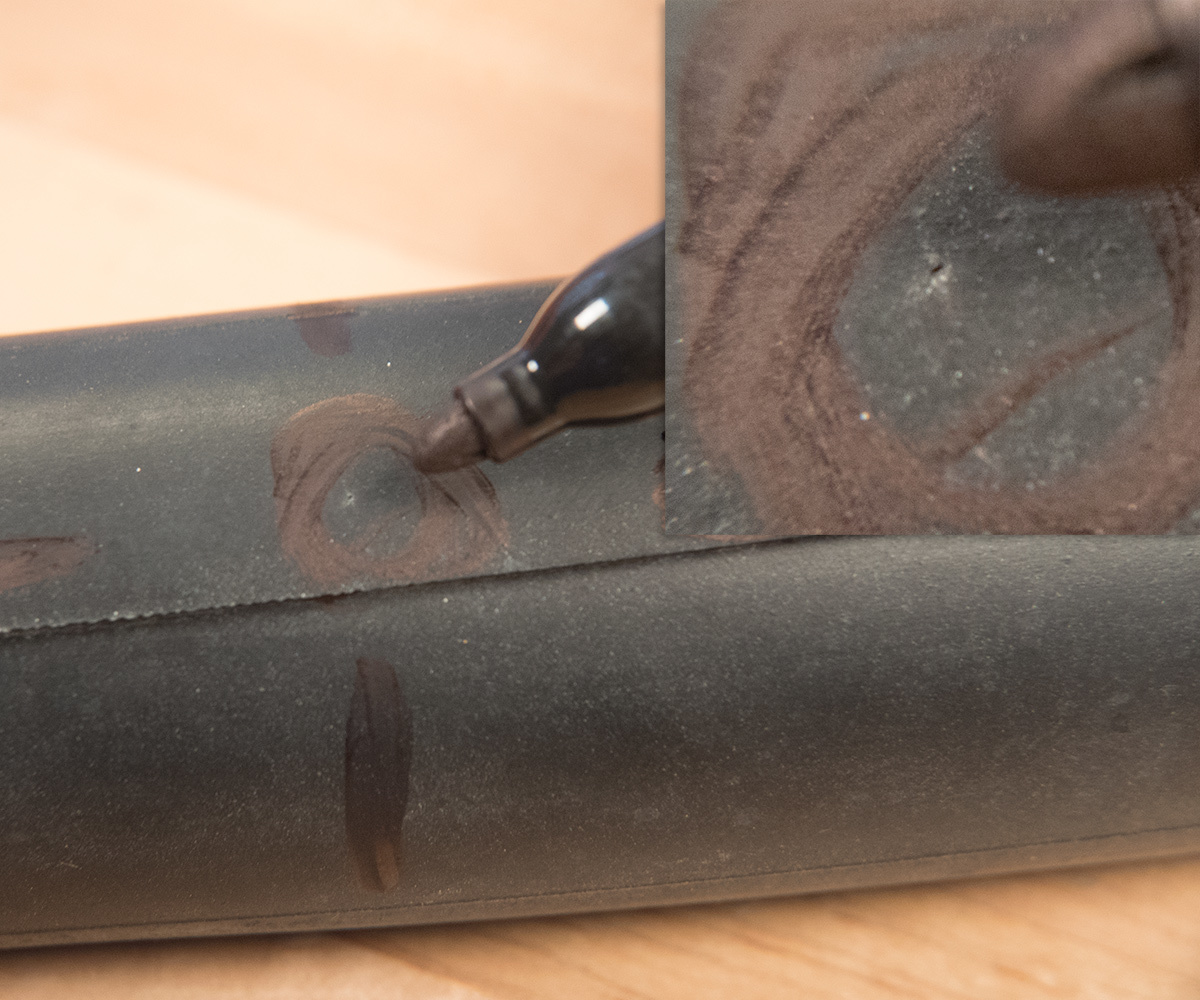
- In case you plan to restore the interior tube, use a marking pen to mark gap. Make 4 marks, one to every facet of gap. Don’t mark near gap, because the mark could also be sanded off.The kind of lower or gap within the tube will assist decide the reason for the flat.
Frequent causes of tire and tube failures:
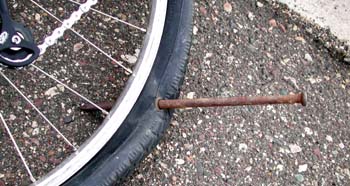
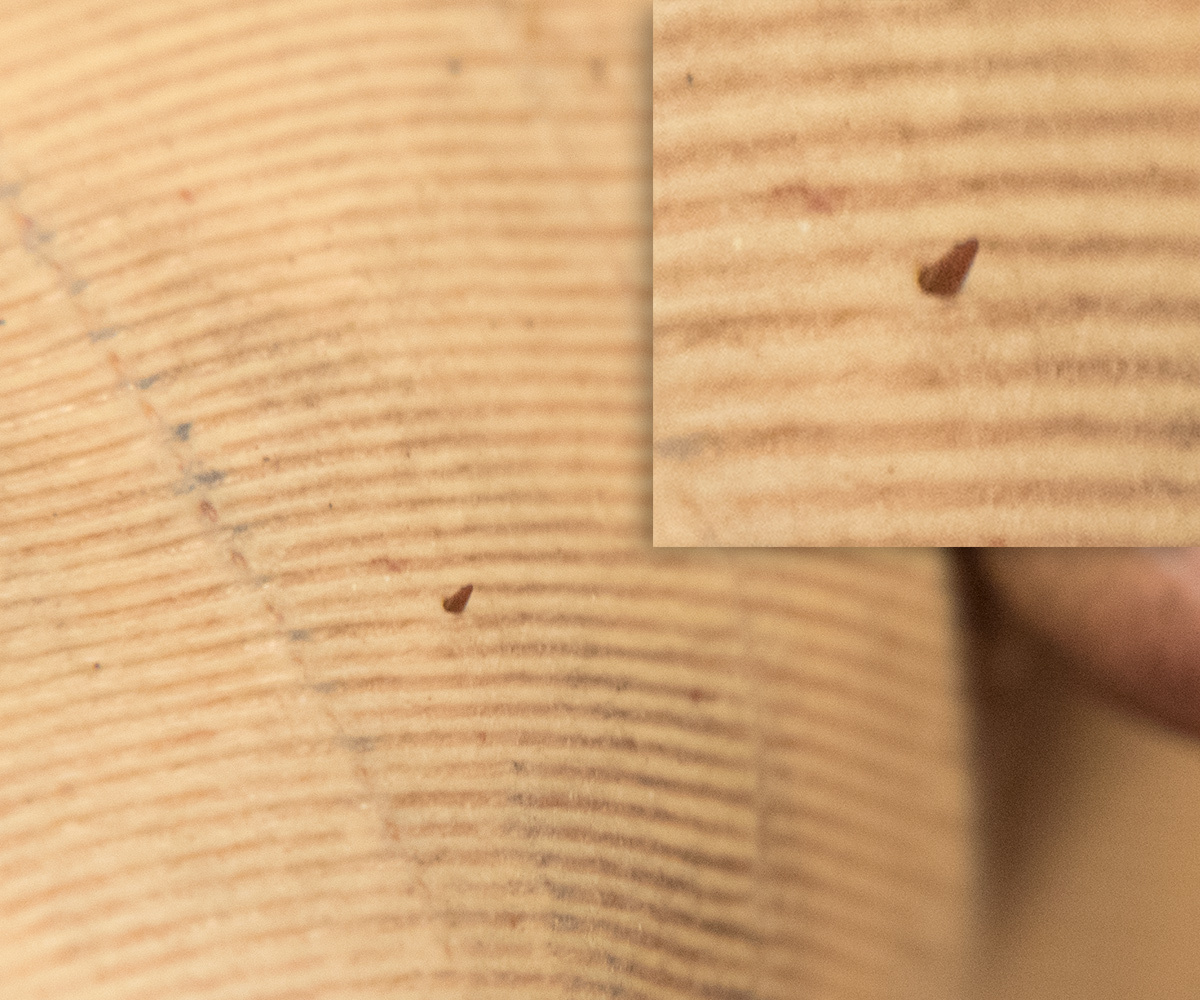
- A single puncture or small gap is often from a thorn, wire, or small nail. These could also be repairable. Verify tire as properly for thorn, and so forth. and take away it.
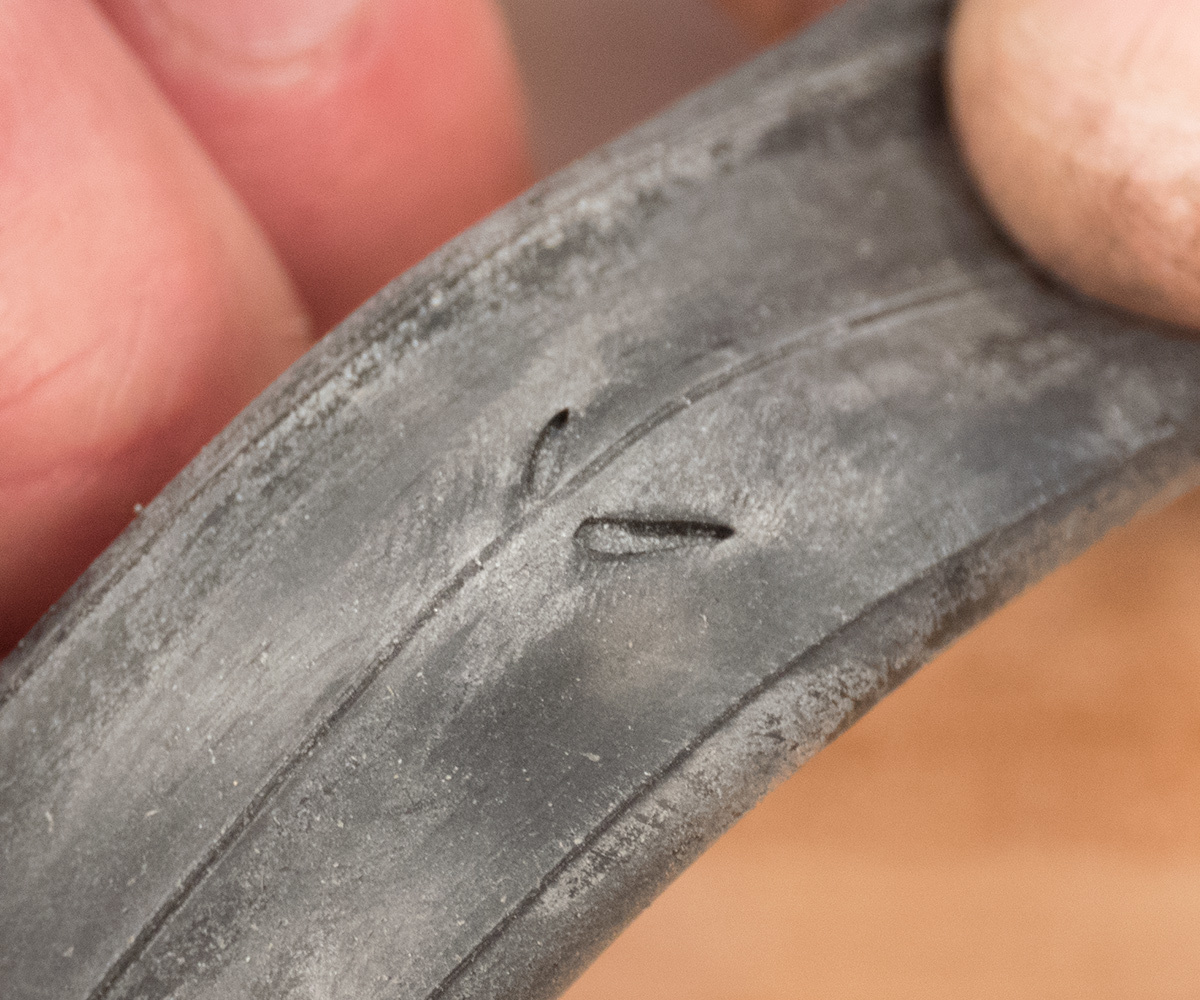
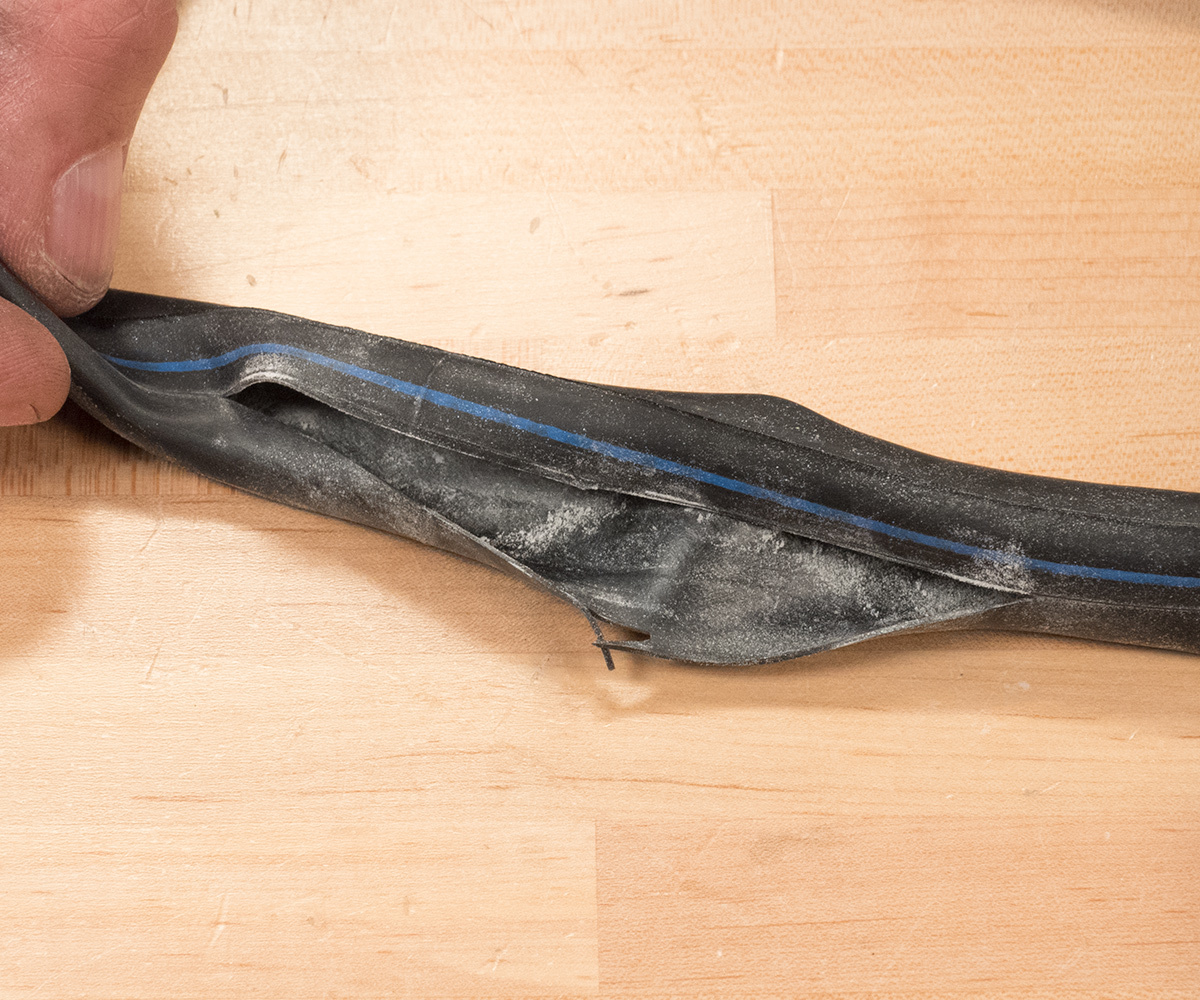
- Double slits are generally the results of a rim pinch. The tube was pinched between the rim and an object in street/path. Enhance air stress or use wider tires.
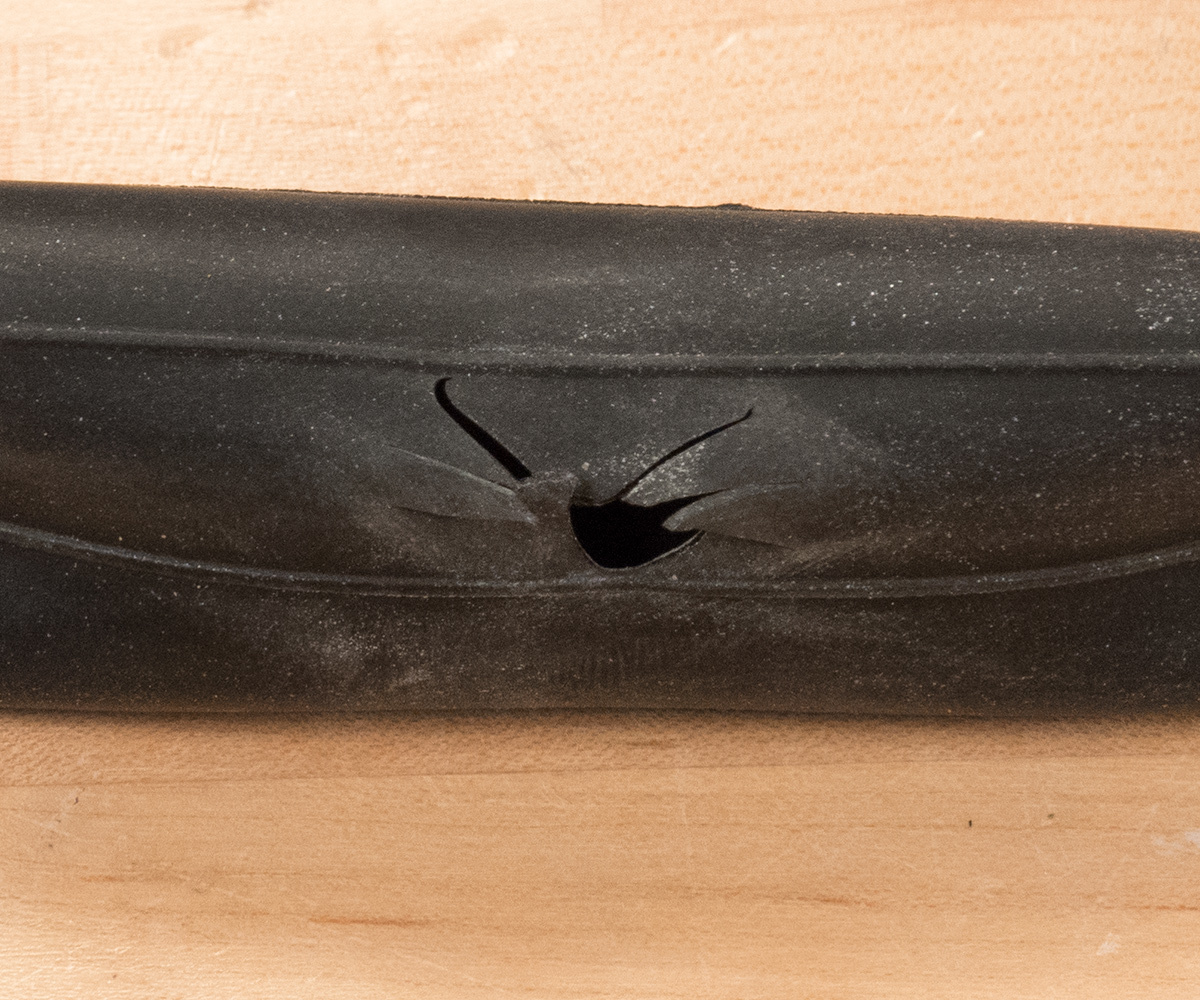
- Blowout inflicting a giant shredded gap. These are normally not repairable. Verify tire and rim as properly for harm.
- A protracted lower or rip can also point out a tire blow out. Sometimes this isn’t repairable. Use care when seating tire throughout set up.
- Gap on inside fringe of tube signifies an issue contained in the rim, akin to from rim strip failure, a protruding spoke or different sharp object contained in the rim.
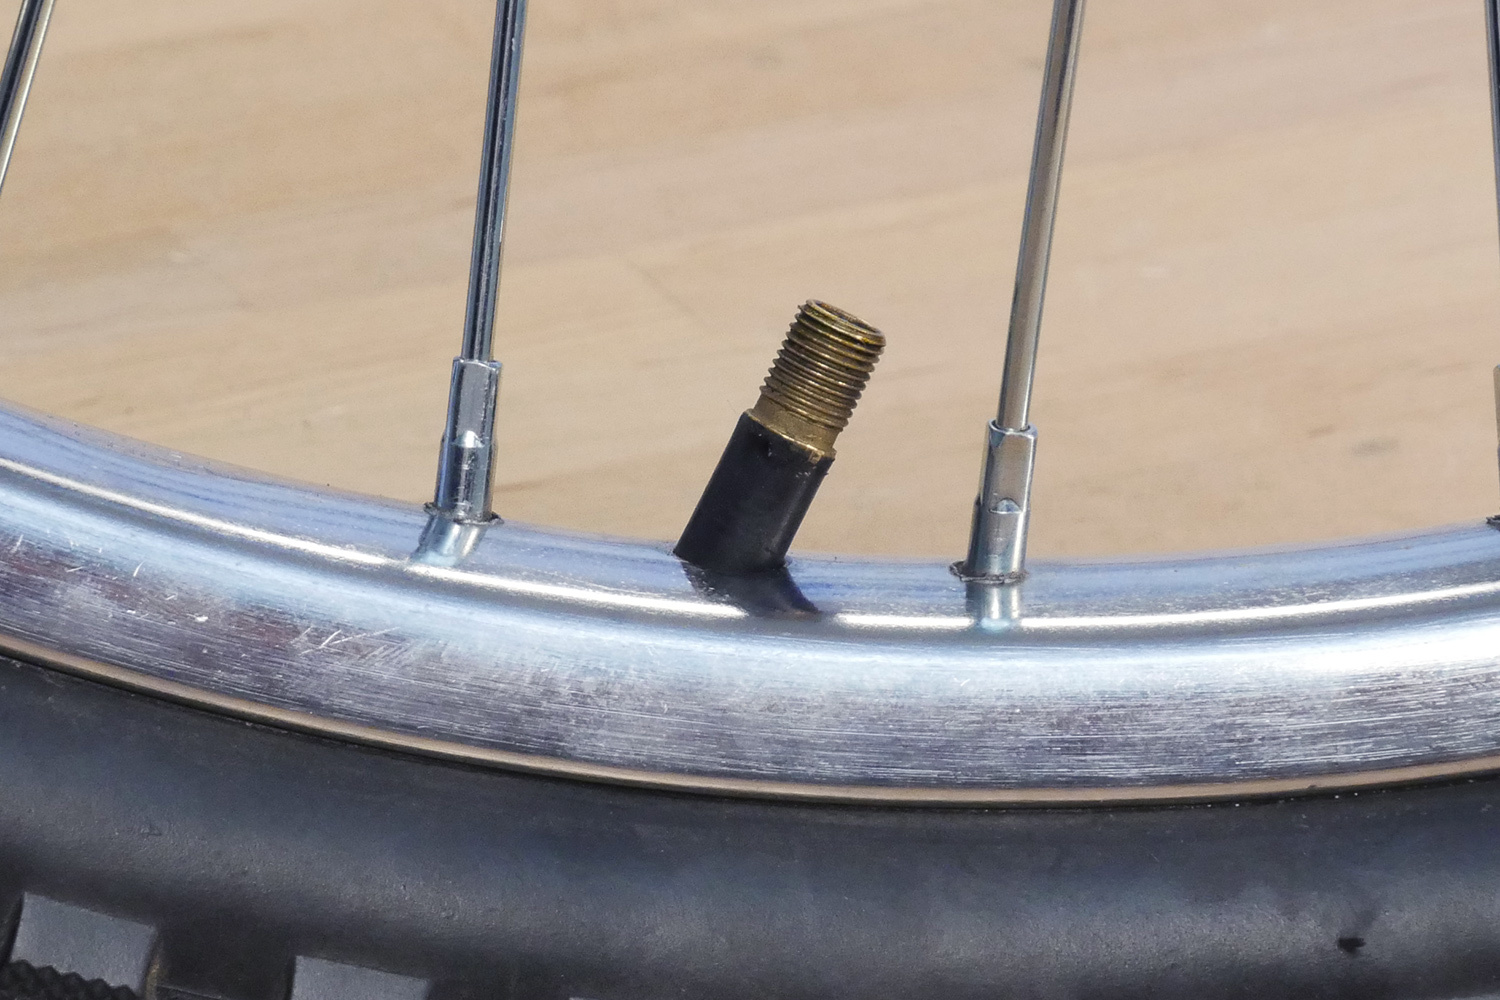
- Reduce at valve core, generally from misalignment of tube in rim or using with low stress. Make certain tube is mounted straight in rim and test stress earlier than rides.
- Leaky valve core. Tighten with a valve core software such because the VC-1. Extra frequent with Schrader kind valves, but additionally doable on some Presta valves.
4
TIRE INSPECTION
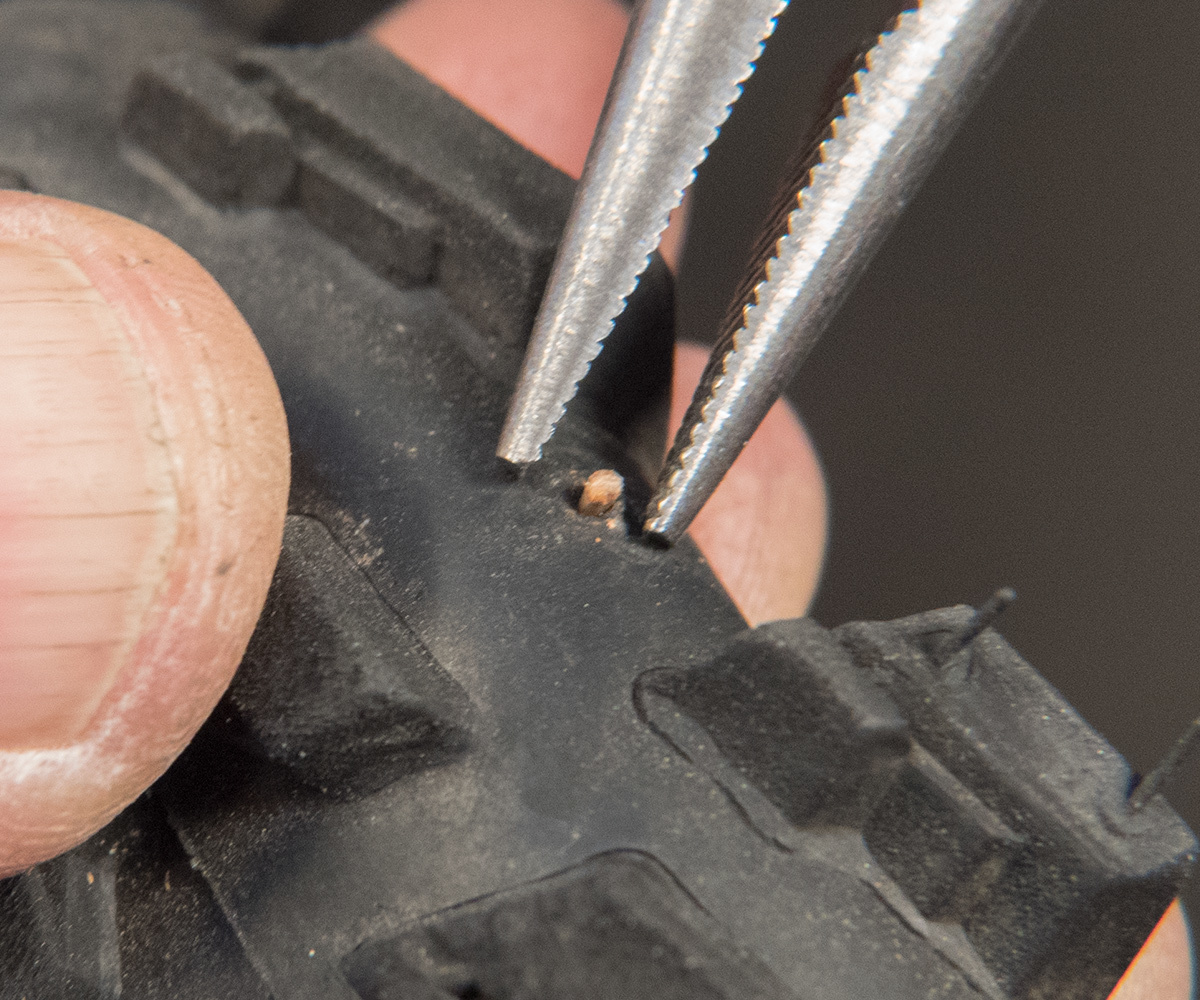
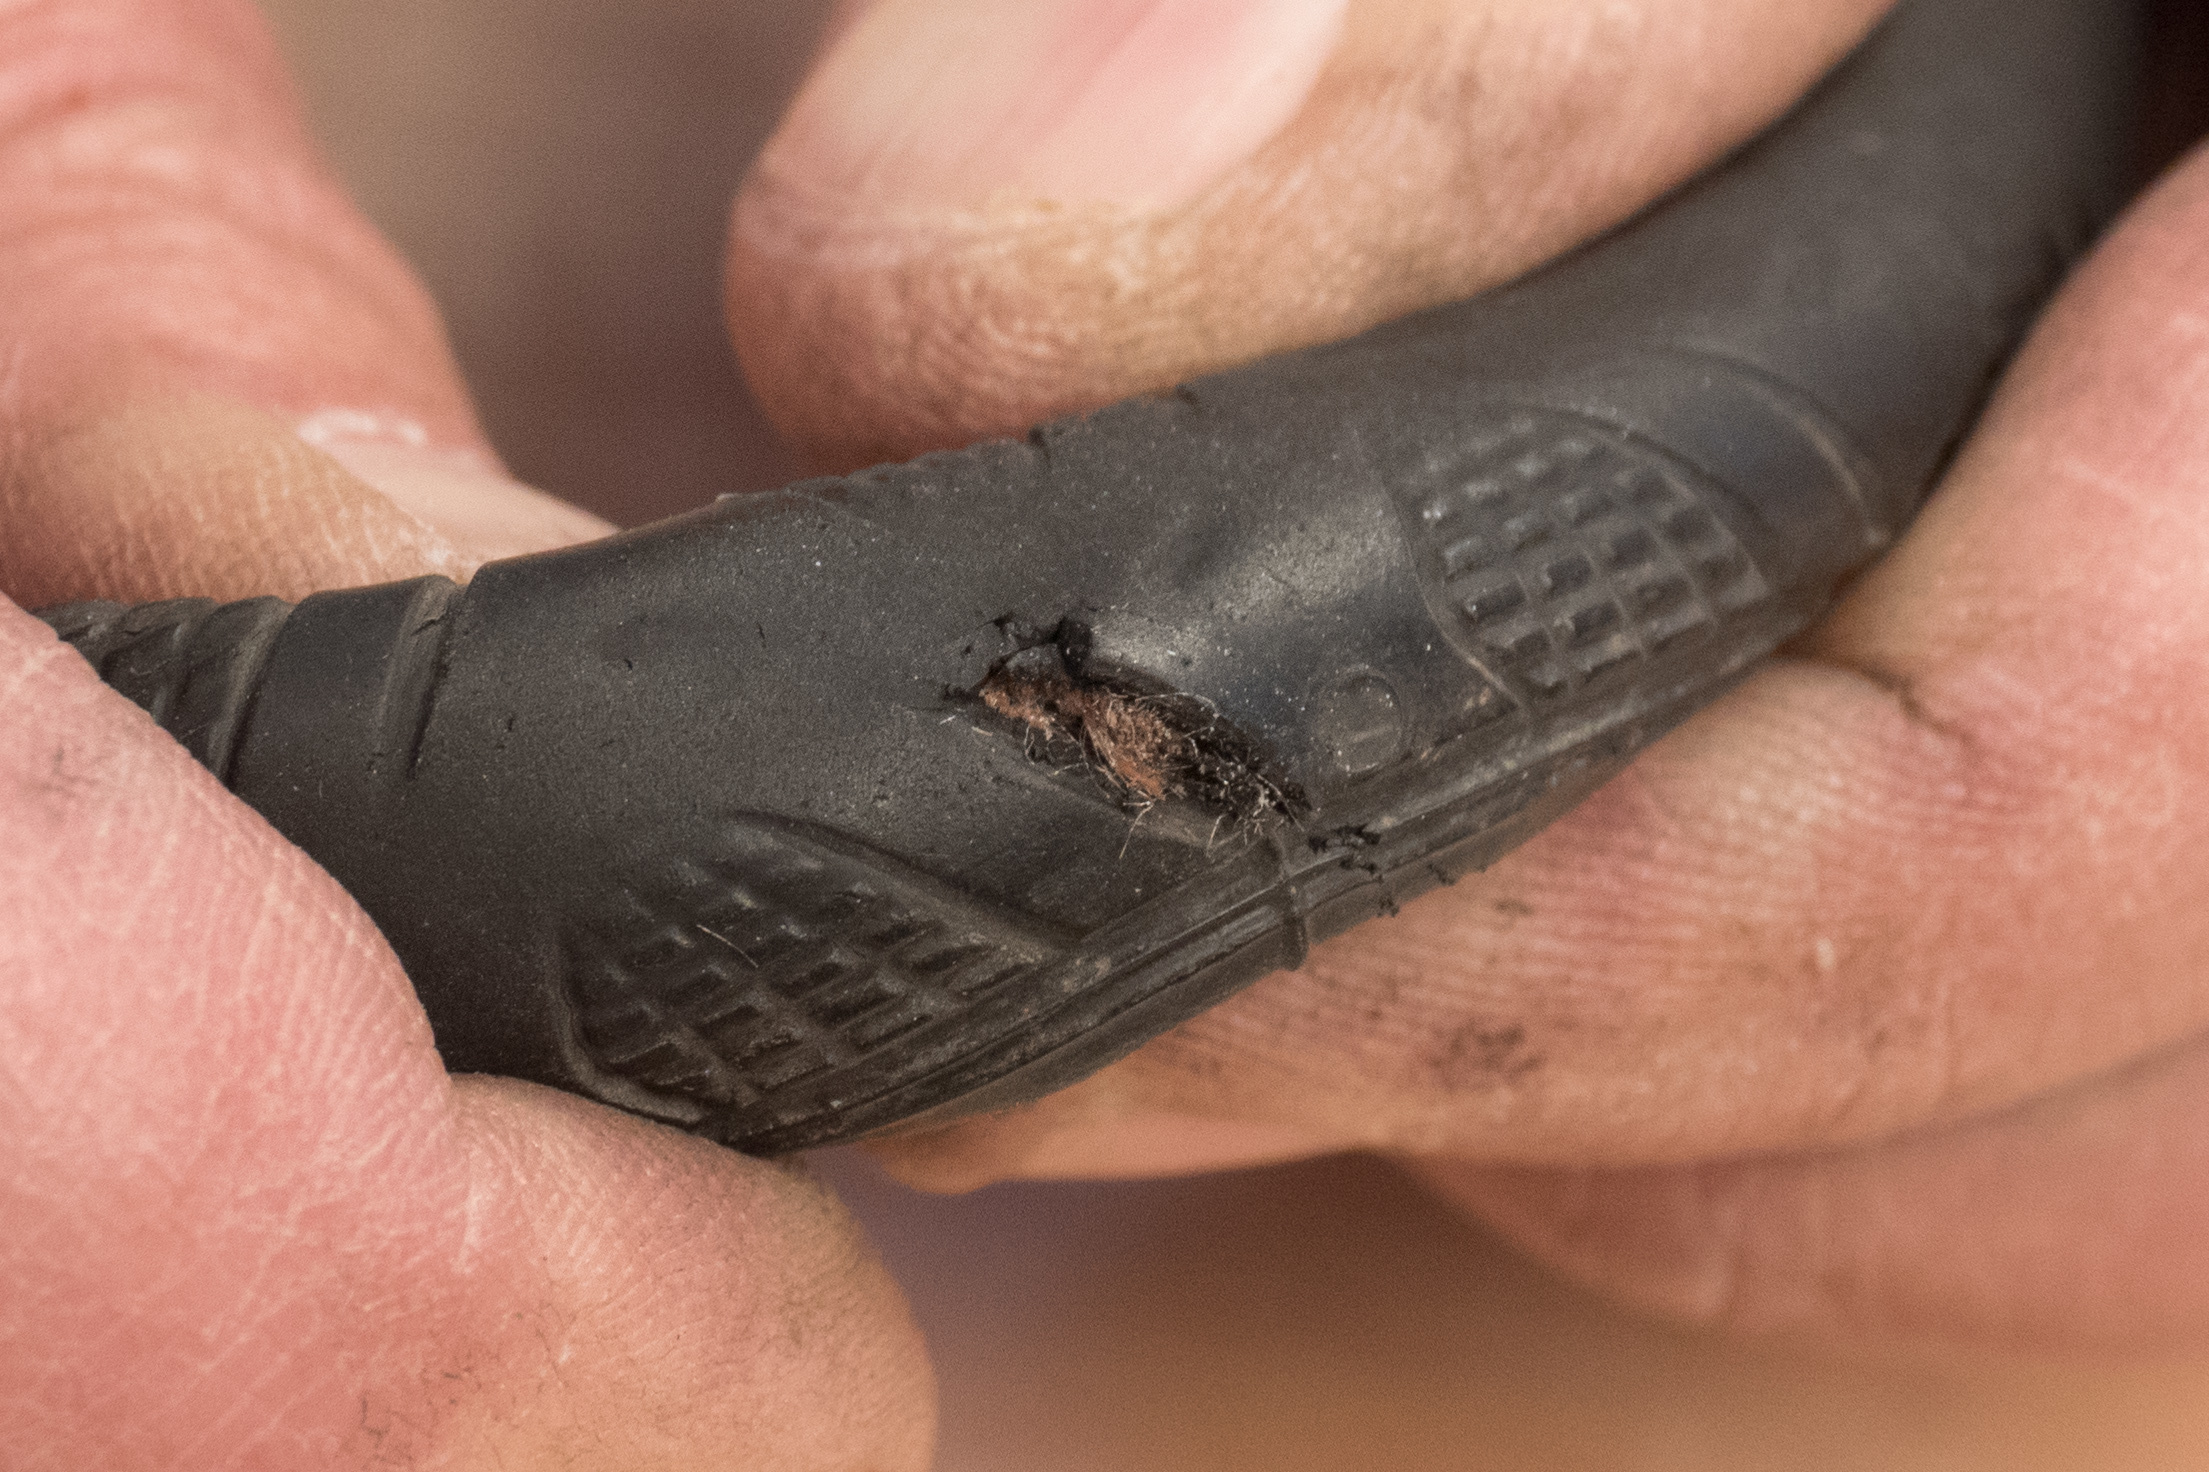
You will need to all the time examine the tire in addition to the interior tube. The reason for the flat, akin to a nail or piece of glass, should still be embedded within the tire or tread. Examine each the skin of the rubber tread and the within of the casing.
- Examine exterior of tread for protruding nails, items of glass, thorns, or different objects. Squeeze any lower to look inside for objects akin to slivers of glass.
- Visually examine inside tire casing for nails, glass or particles. Wipe inside casing with a rag, after which fastidiously really feel inside with fingers.
- Examine sidewall for rips, holes, or broken rubber and casing.
- Examine wire or material tire bead for harm.
5
RIM INSPECTION
The wheel rim is made with holes between the rim sidewalls for spoke nipples. A rim strip covers the holes or nipples. The rim strip will be made out of various supplies akin to material, rubber, or polyurethane plastic. The strip protects the interior tube from sharp edges within the base of the rim and from spoke ends and nipples that may puncture the tube.
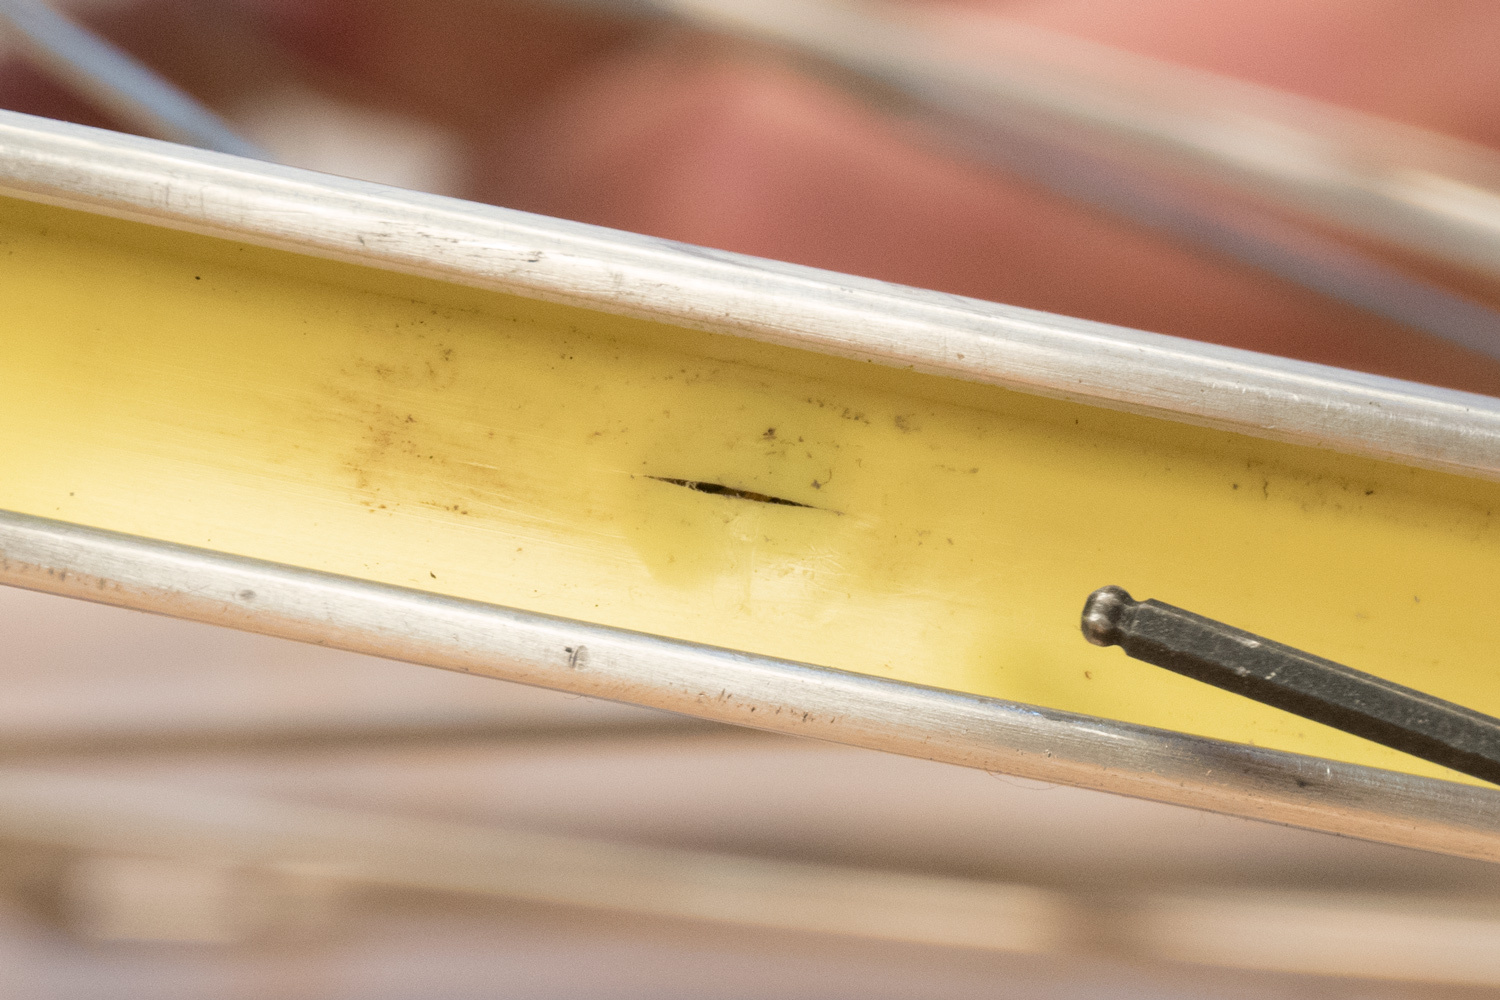
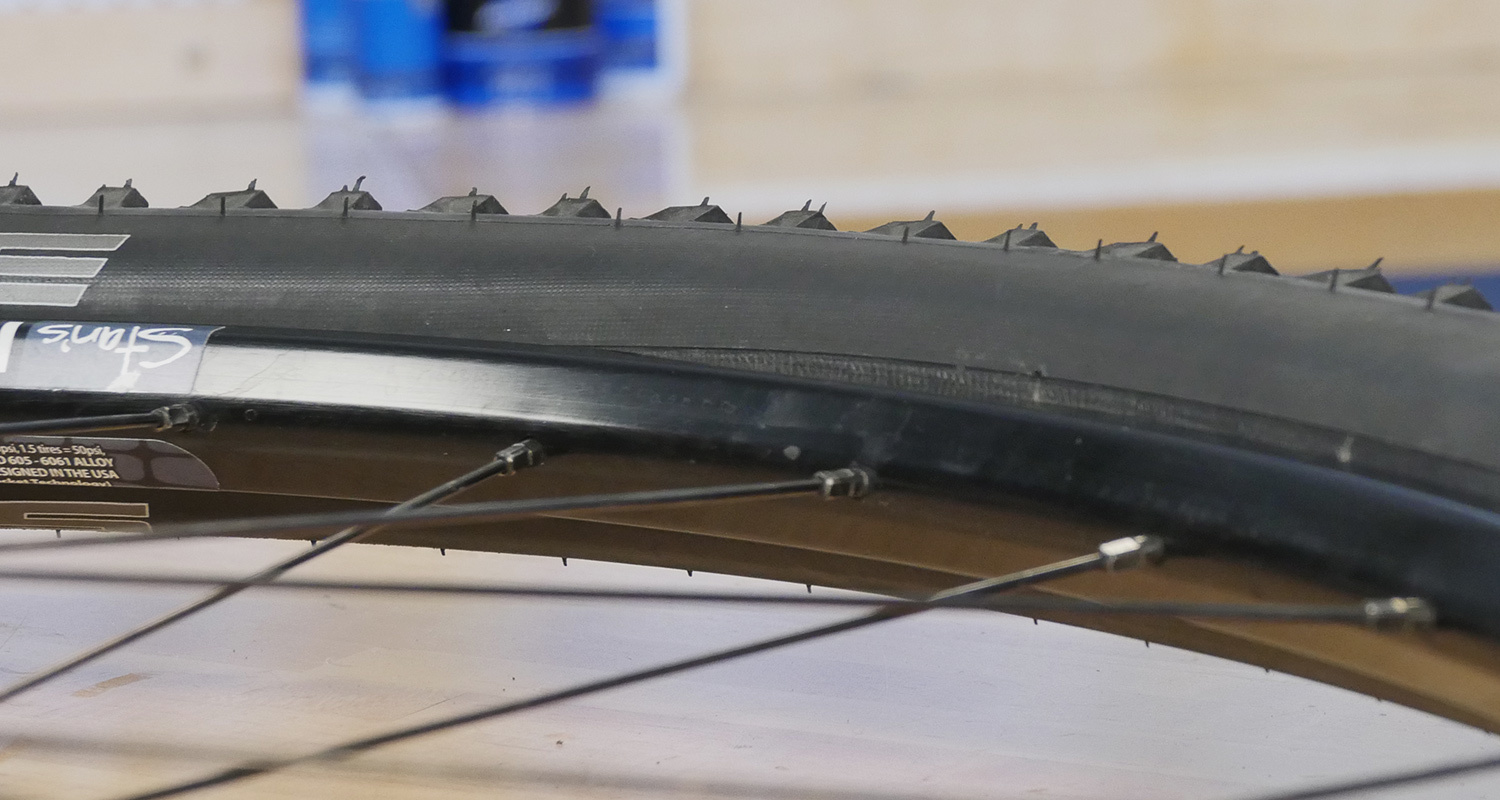
Examine contained in the rim cavity, wanting on the rim strip and for any sharp corners or protruding spokes.
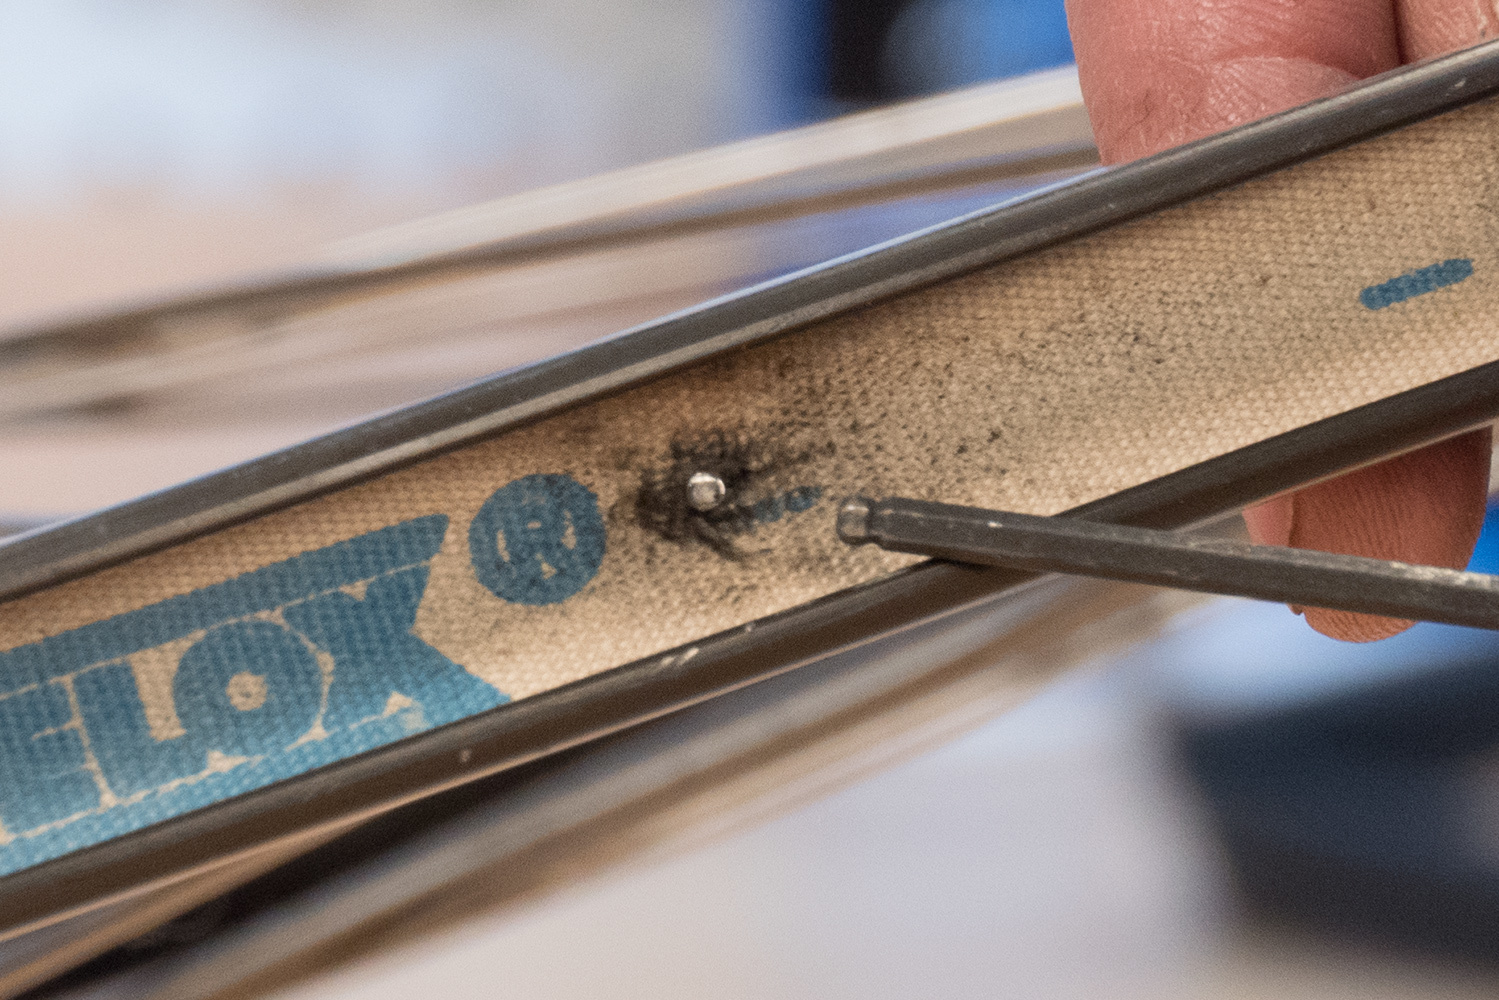
The rim strip needs to be broad sufficient to cowl the underside of the rim, however not so broad it interferes with the seating of the tire bead. Examine the rim strip every time altering a tire or interior tube. Search for tears and rips, and ensure rim strip is centered over the nipple holes. Within the picture beneath, the rim strip is broken, which can trigger a flat tire.
6
VALVE TYPES
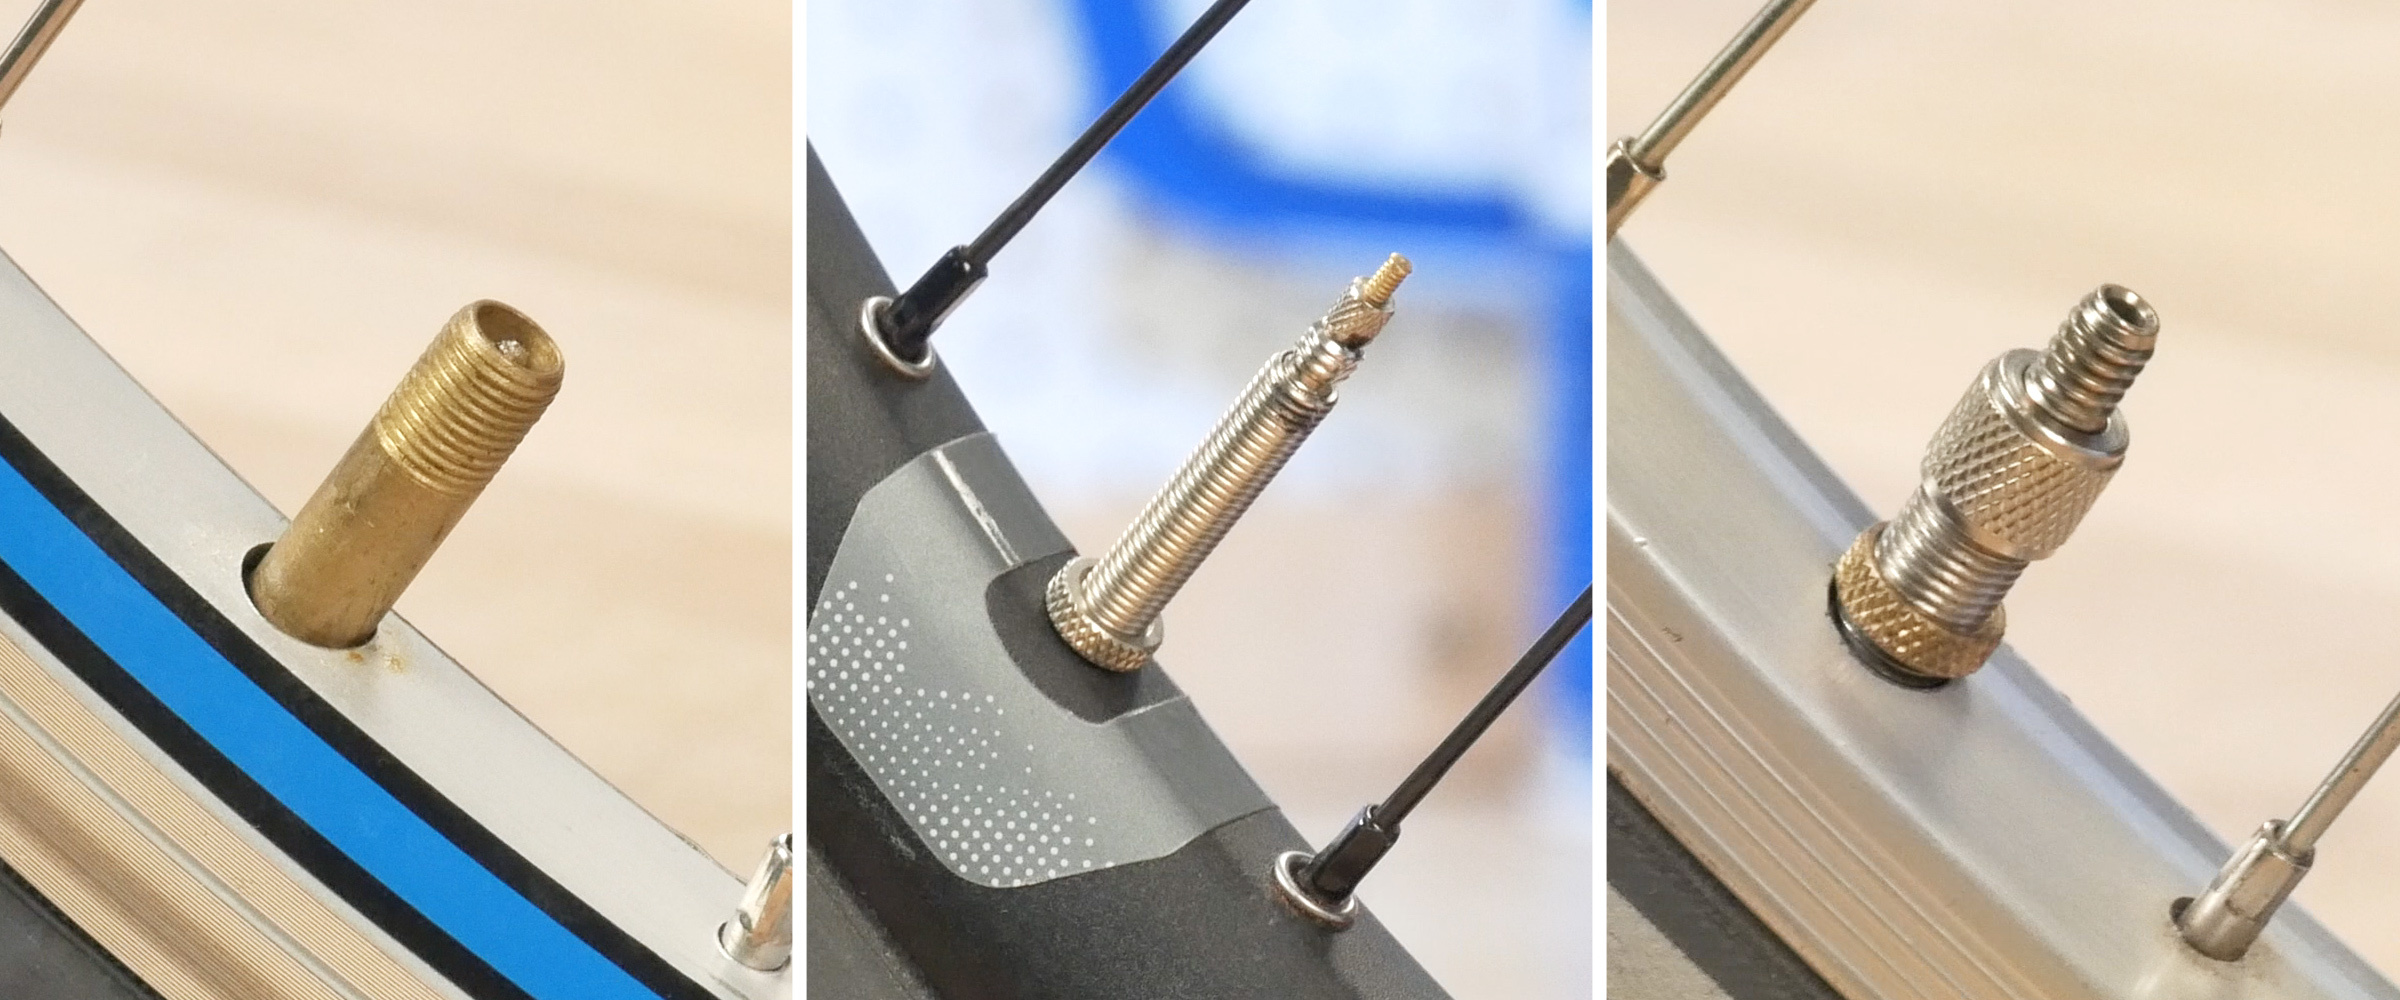
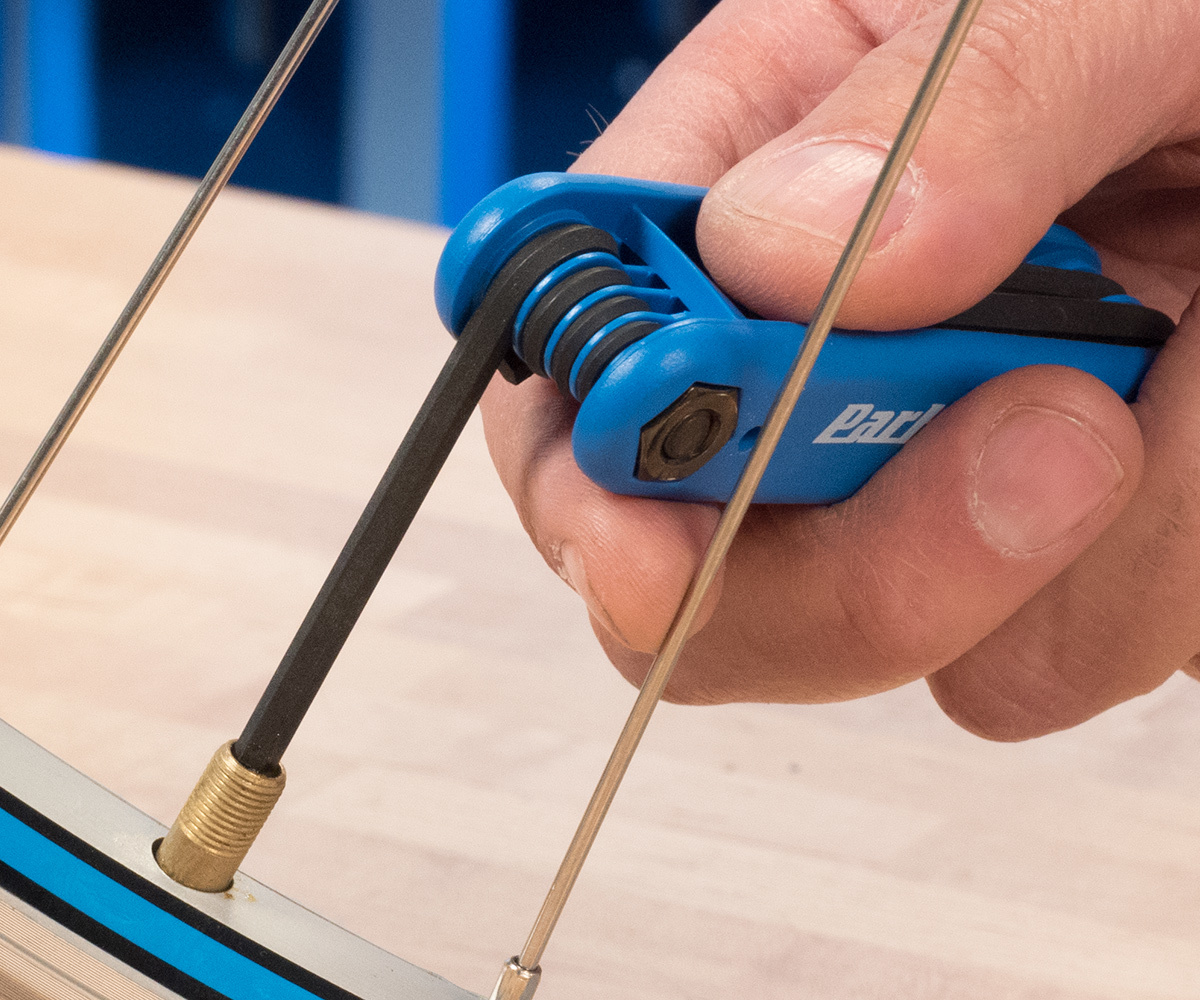
There are three frequent kinds of valve stems on bicycles: Schrader (“American” kind), Presta (“French” kind) and Woods (also called “Dunlop”). The Schrader-type valve is frequent on American automobiles and bikes. It is usually discovered on many bicycles. The valve stem is roughly 8mm (5/16″) in diameter and has an inside spring plunger to help in shutting the valve. To deflate the schrader valve tube, it’s obligatory to stay a small hex wrench or different object into the valve in an effort to press on the stem and launch the air. Upon launch of the stem, the stem spring shuts. Schrader-compatible pump fittings press on the inner stem with a plunger, permitting the tube to be stuffed.
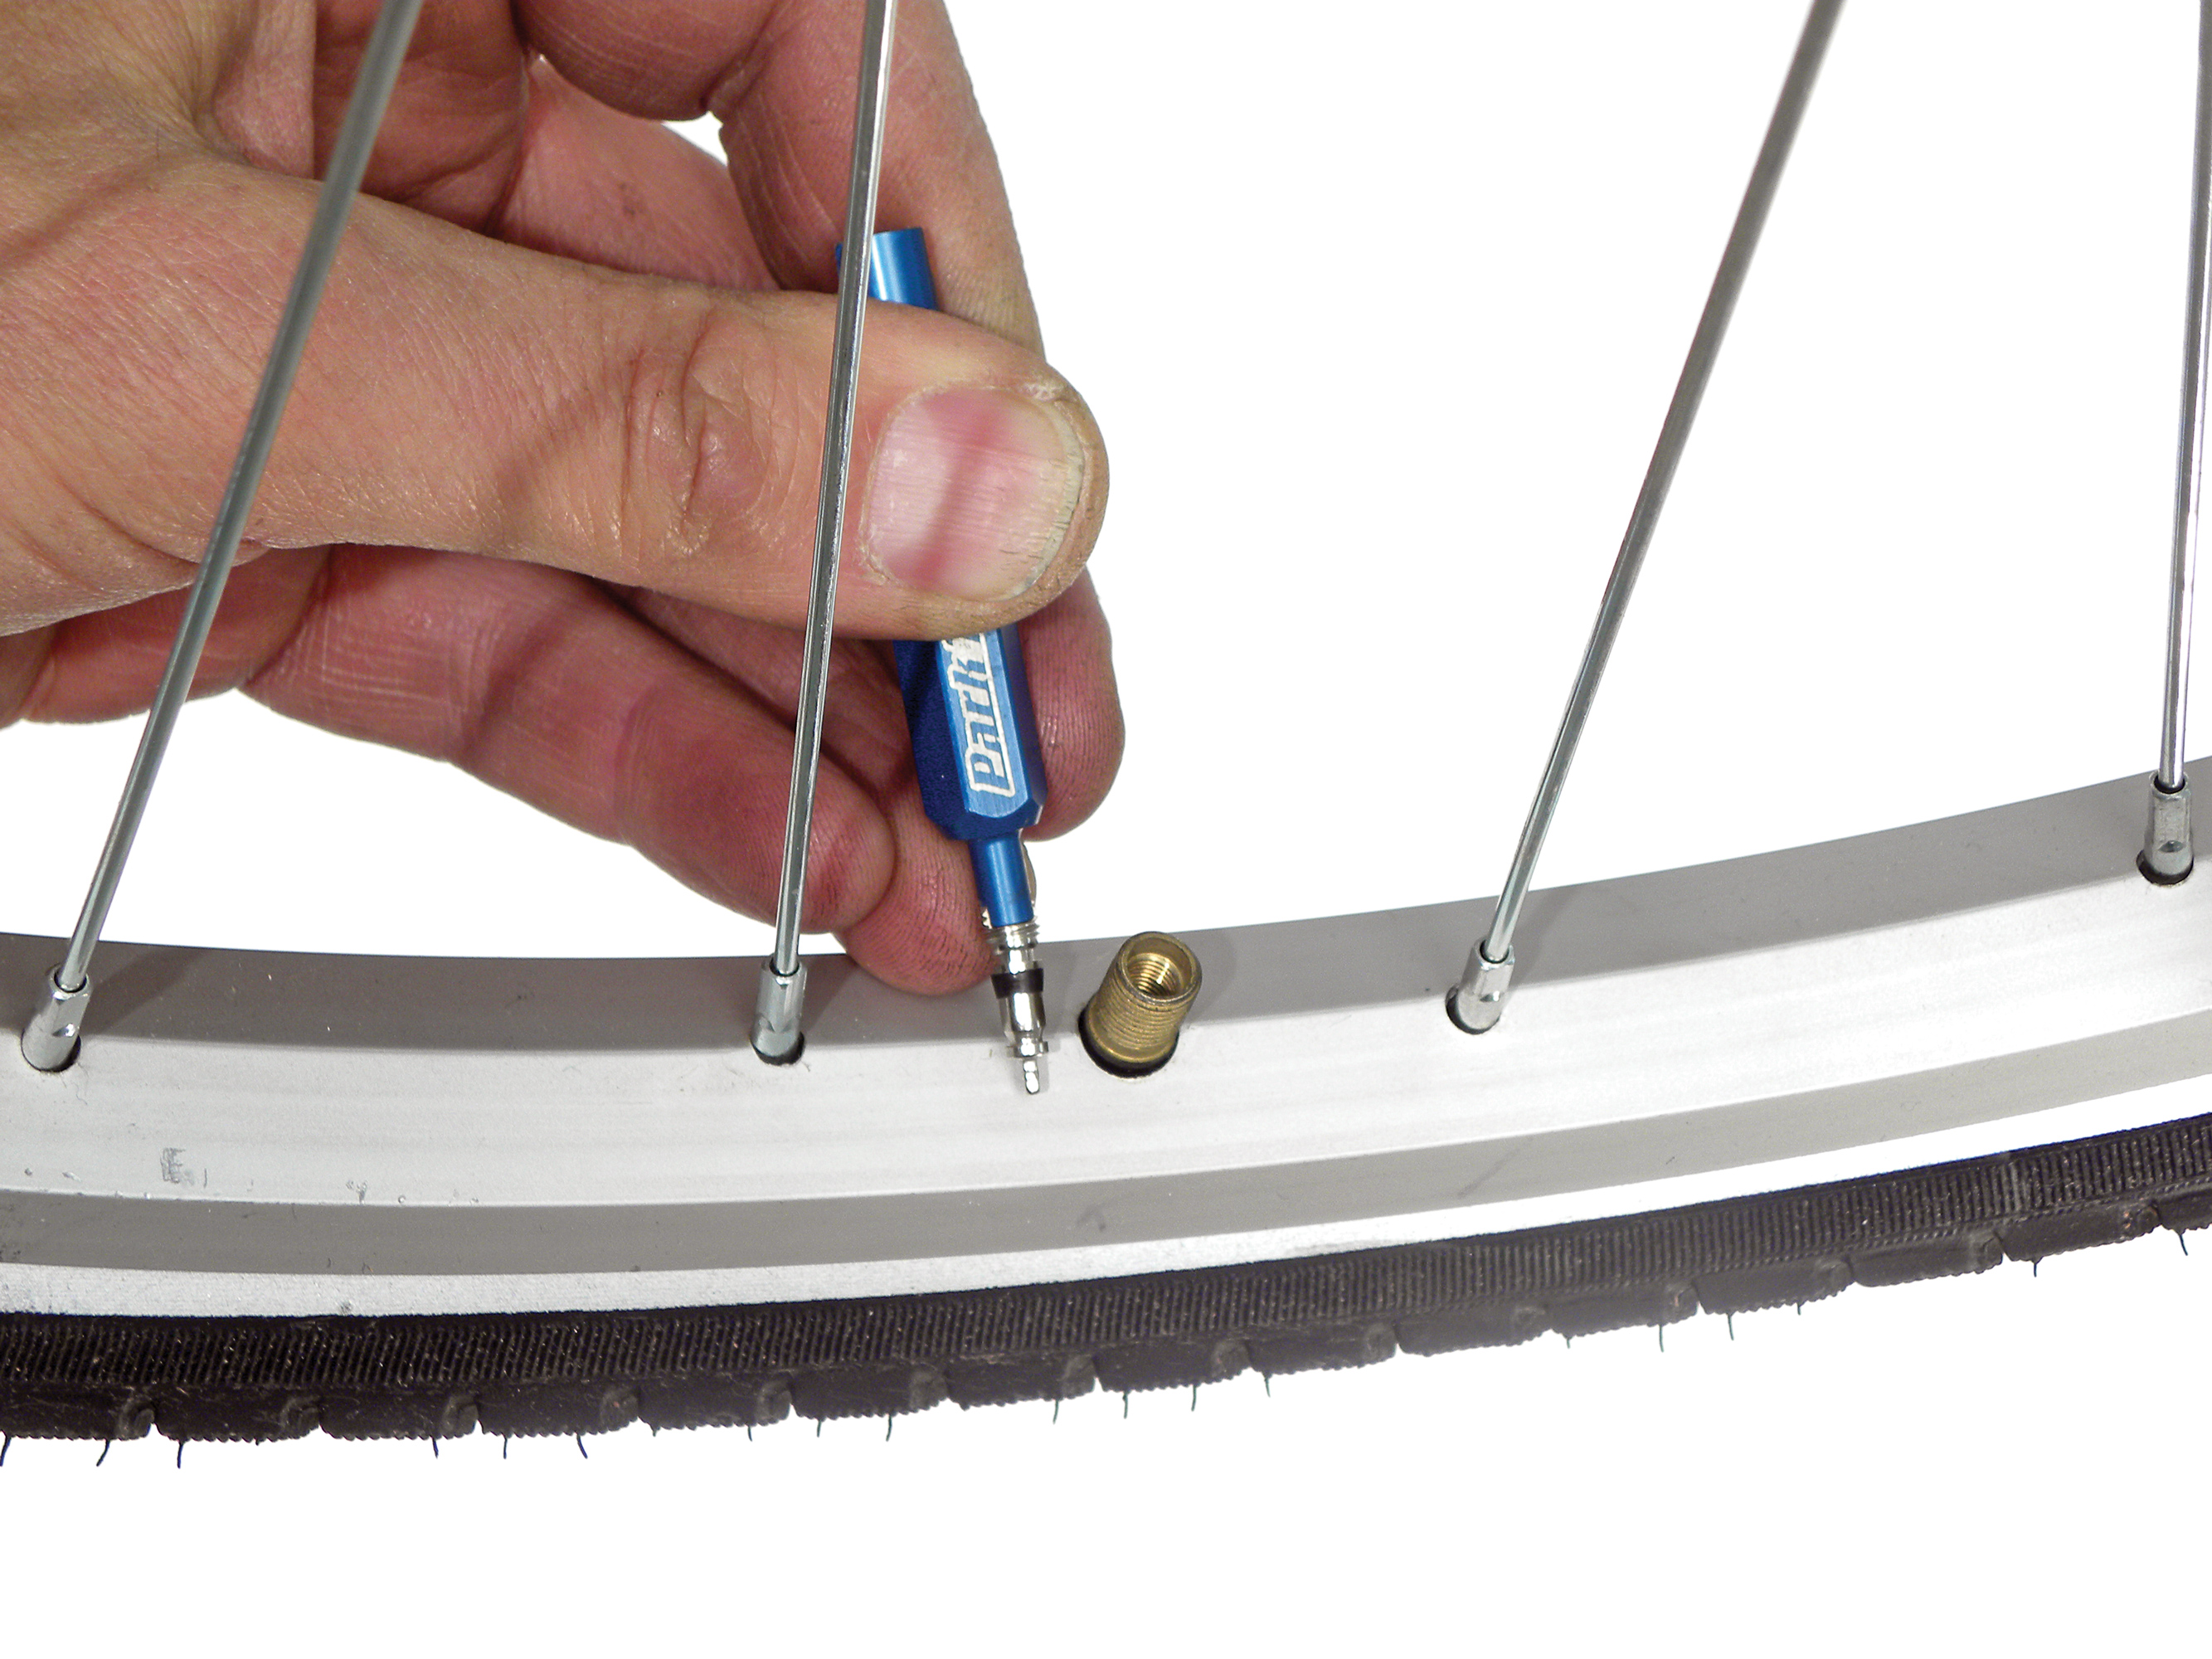
The Schrader valve core will be eliminated if obligatory. That is hardly ever required, however a valve can change into caught and trigger a gradual leak. A free core can be the supply of a gradual leak. A particular software such because the Park Instrument VC-1 will take away and or tighten the core.
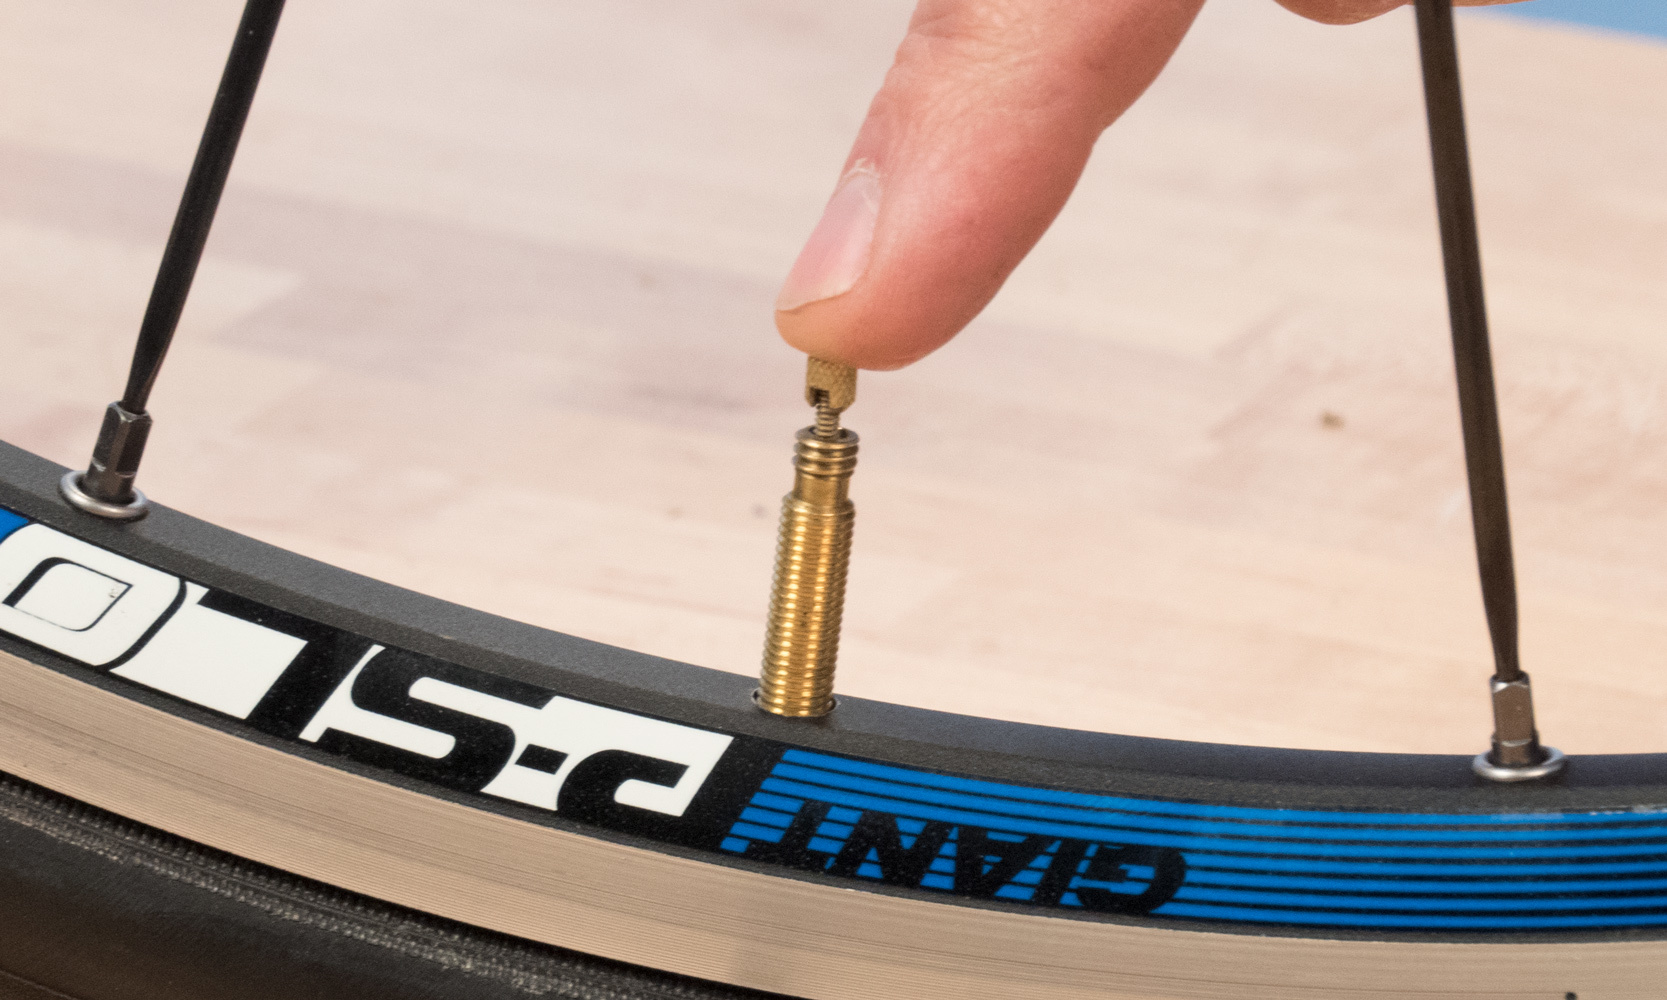
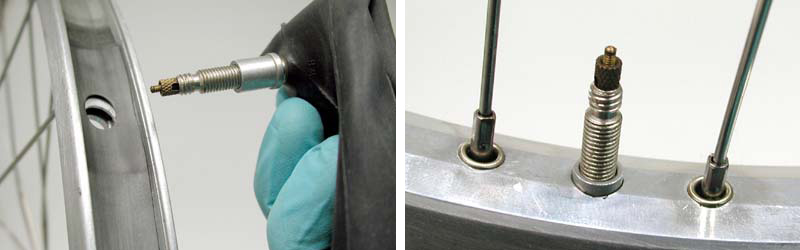
The Presta valve is frequent on mid and better priced street and mountain bikes. Presta stems are nominally 6mm (1/4″) diameter, thinner than Schrader valves. On the prime of the stem is a small locknut, which have to be unthreaded earlier than air can enter the tube. To deflate the interior tube, unthread the locknut. Depress the valve stem to deflate. To inflate the tube, unthread the locknut and faucet the valve to insure it isn’t caught.
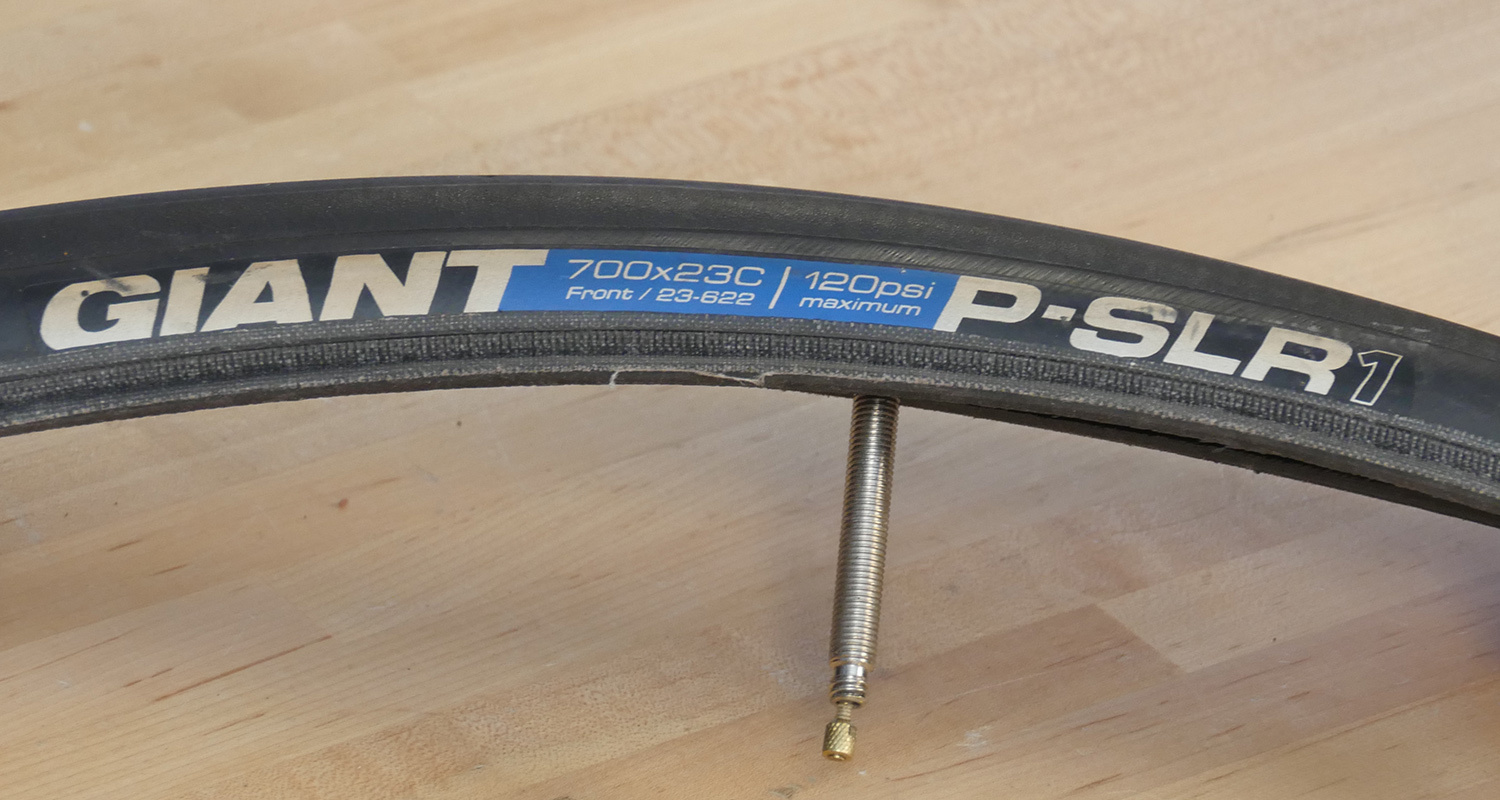
Presta valve tubes can be found with completely different size valves. Longer valve stems are wanted for deeper aerodynamic rims.
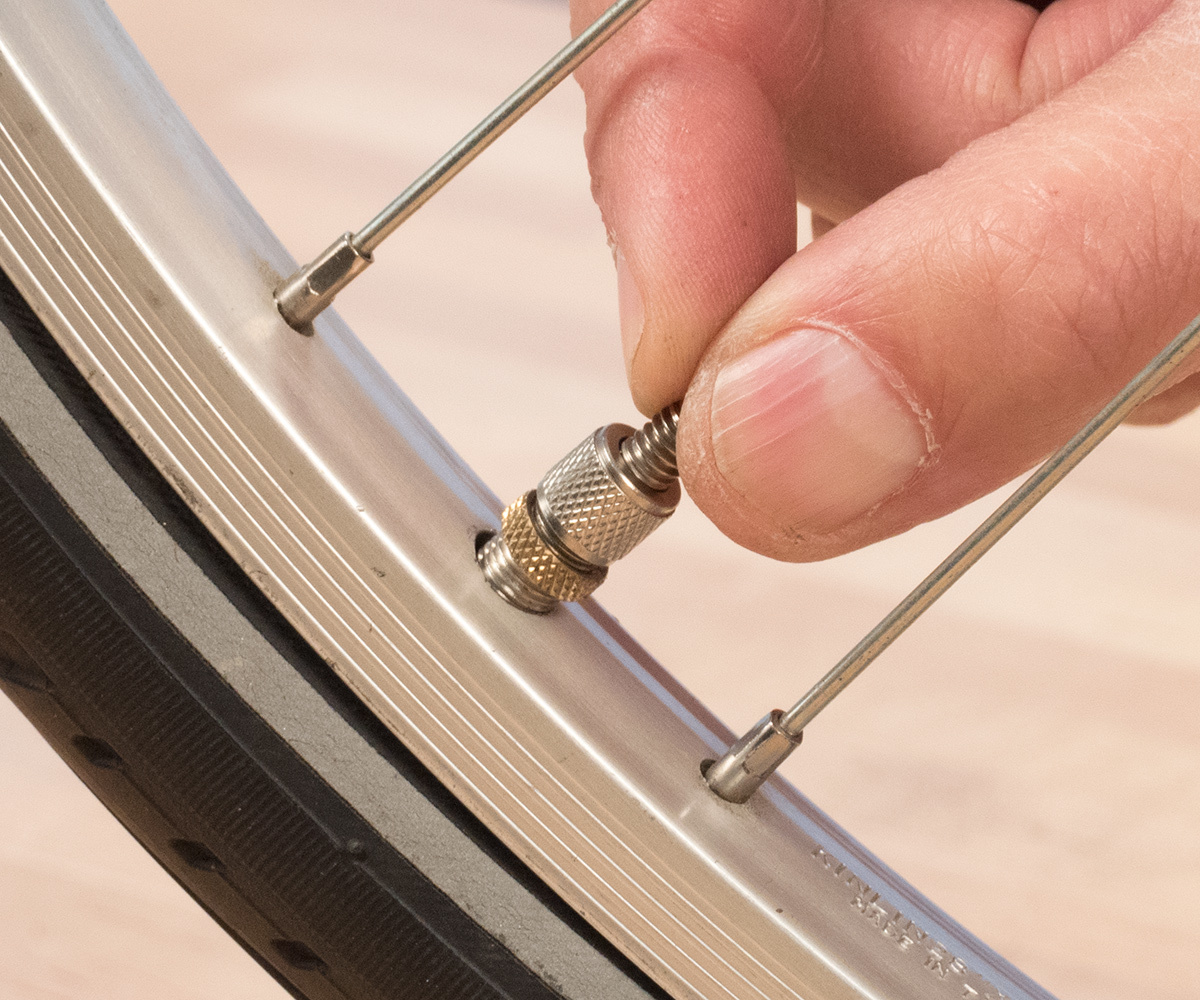
The rim valve gap ought to match the valve of the tube. It’s doable to make use of the smaller Presta valve in a rim meant for the bigger Schrader through the use of an adapter sleeve.
7
INNER TUBE REPAIR
Merely changing the punctured interior tube with a brand new tube is all the time the most secure and most dependable process. Nonetheless, it’s doable in some circumstances to restore a small gap in an interior tube. If the outlet is sort of giant, it might not be doable to restore. When unsure, change the tube.
For full directions, see Internal Tube Restore.8
TIRE AND TUBE INSTALLATION
- Observe directional arrows of tire producer, if any. Directional arrows printed on the sidewalls point out rotation of wheel. Not all tires have course orientation.
- Inflate tube sufficient for tube to only maintain its form.
- Set up tube inside tire. Set up with tube valve adjoining to air stress suggestions written on tire sidewall.
- Decrease tire and valve into rim valve gap and align valve so it’s pointing straight towards hub. A crooked valve can result in a flat tire later.
- Set up one bead at a time. Work tire bead onto rim with arms. If tire bead won’t seat utilizing hand, use tire lever as a final resort. Use warning when utilizing tire levers to keep away from pinching interior tube. Interact tire lever utilizing similar orientation as eradicating bead.
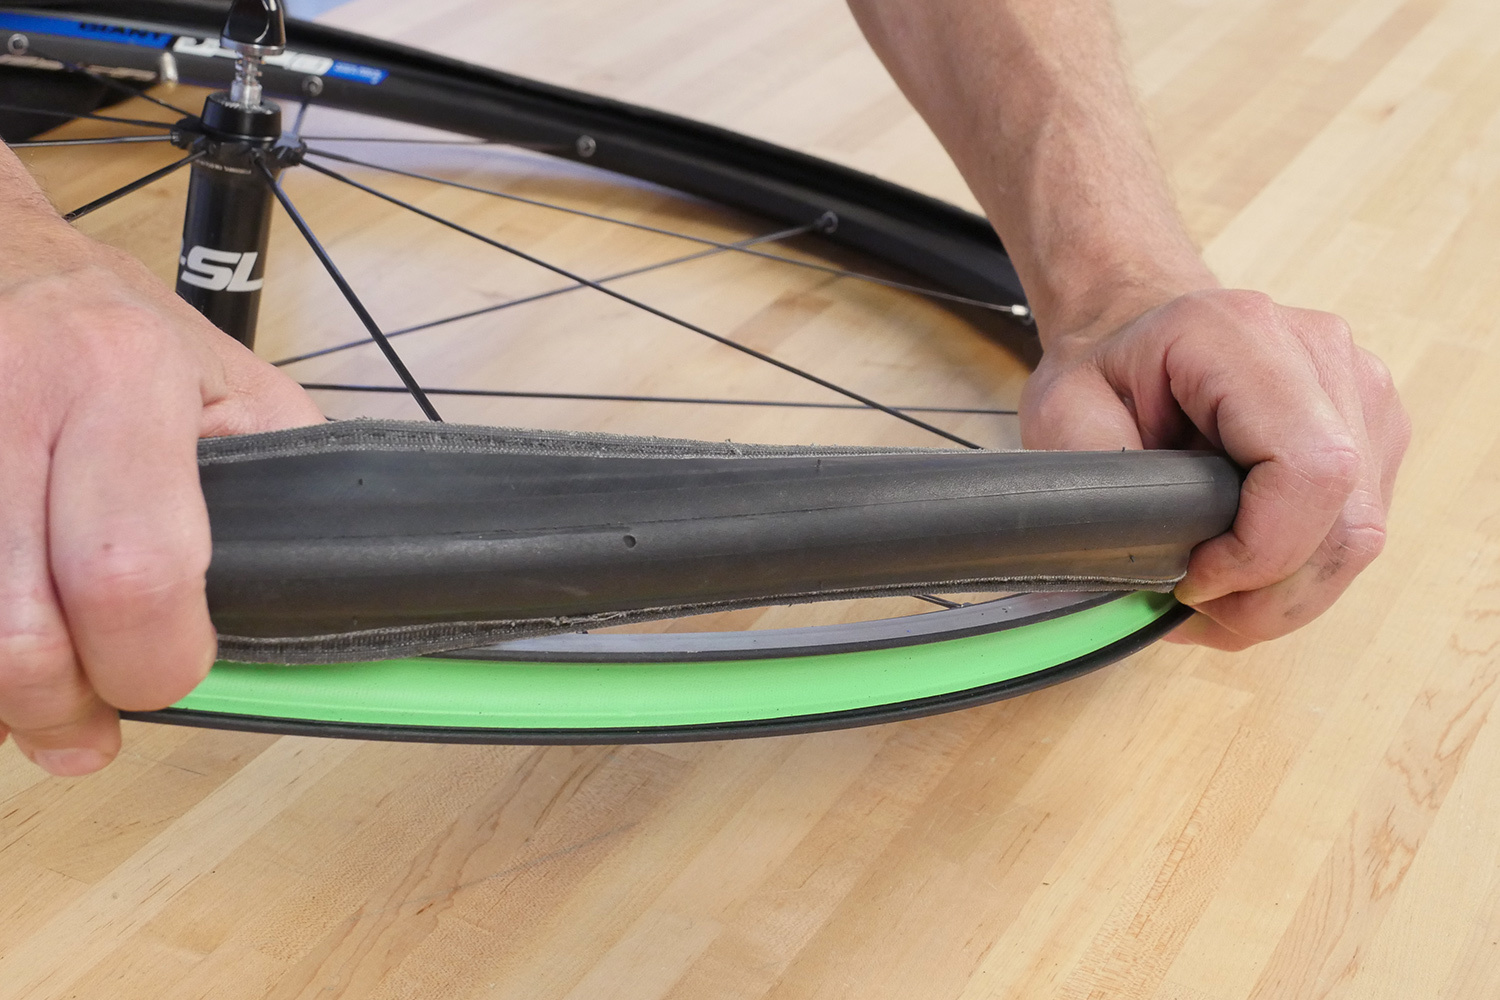
- Work tube over rim sidewall and into rim cavity.
- Set up second bead onto rim. Use care if utilizing a tire lever.
- Examine each side of tire for bead seating and for any signal of the interior tube protruding. Reinstall if obligatory.
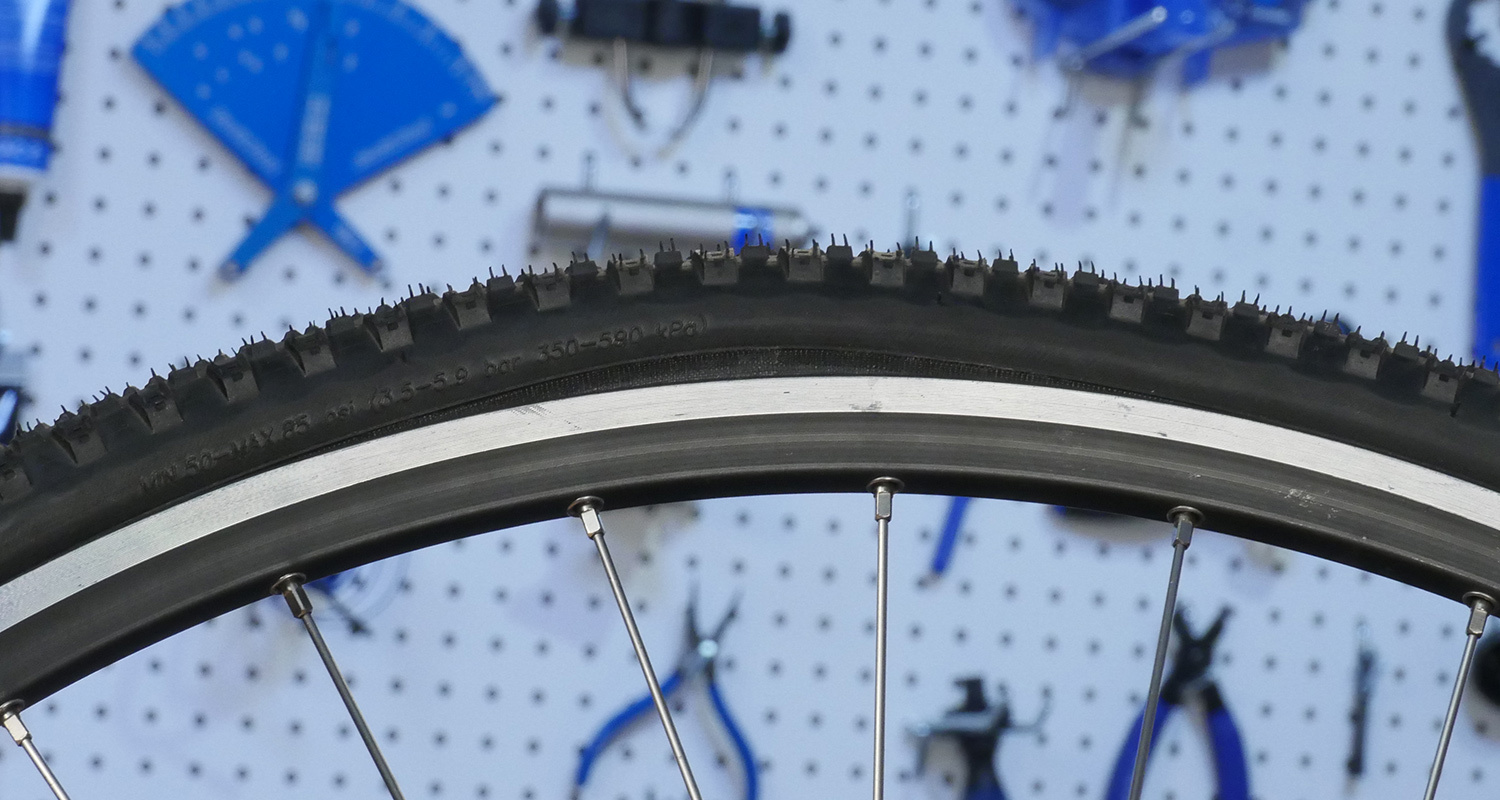
- Inflate to low stress and examine bead once more on each side. Search for small molding line above bead. This line ought to run constantly above rim. Modify if obligatory.
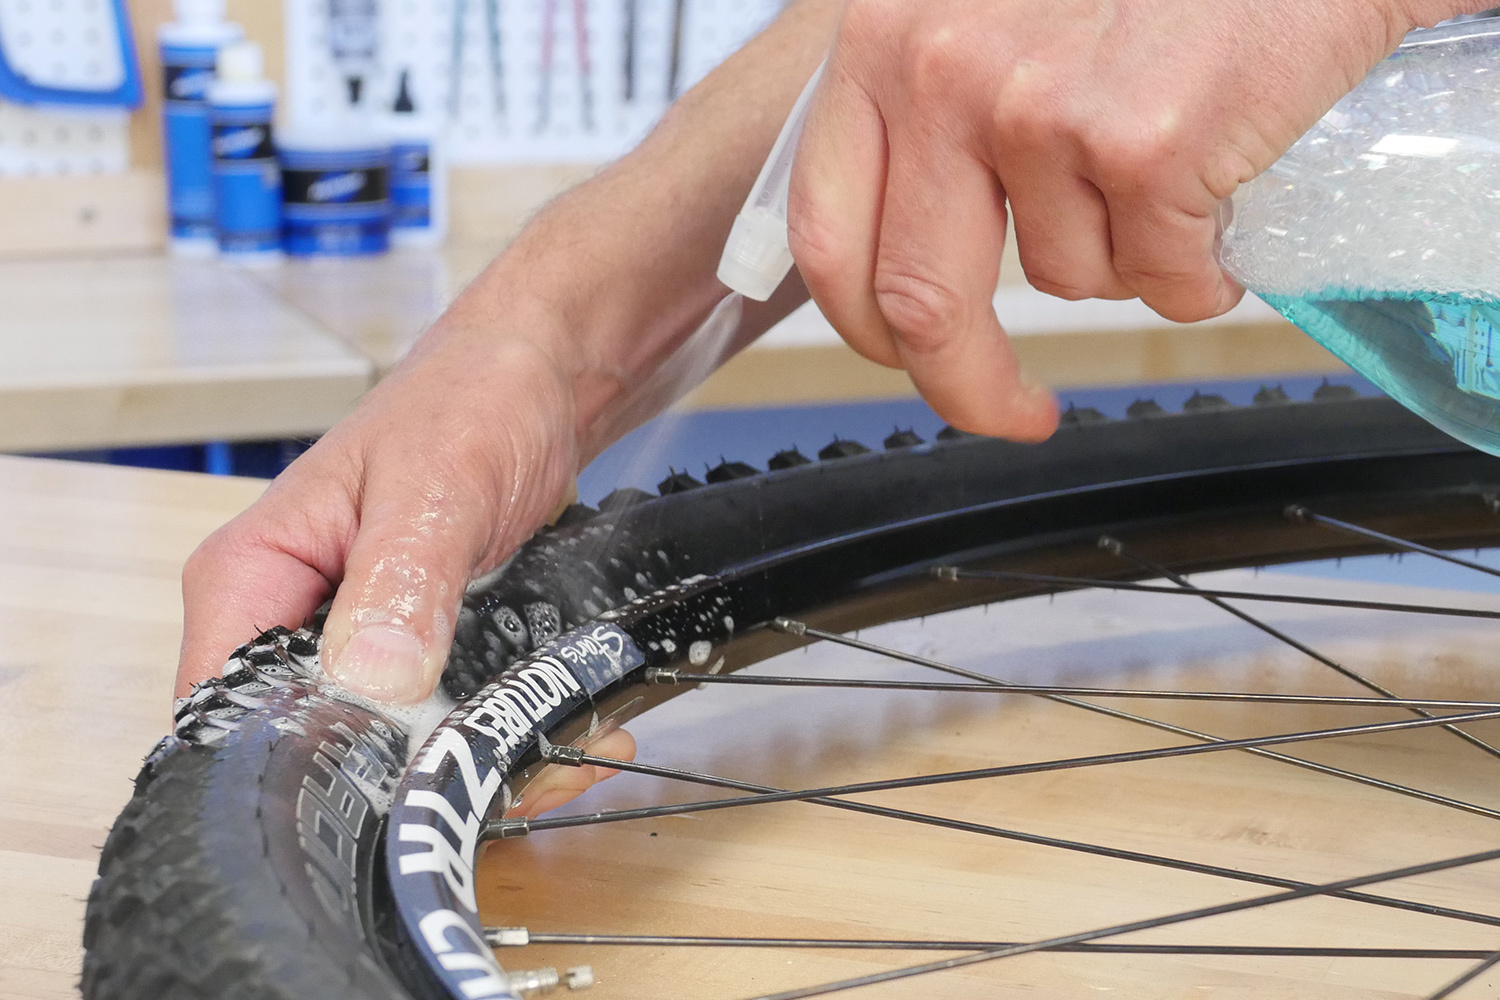
- If the tire bead is caught beneath the rim, and additional air stress doesn’t right it, use a lubricant akin to soapy water. Don’t use grease or oil.
- Inflate to full stress and test with stress gauge. It could be essential to press downward above the valve in an effort to have interaction the pump head. For totally threaded valve shafts, reinstall the locking nut, if any. Don’t use wrench or pliers to tighten nut — tighten finger tight.
9
WHEEL INSTALLATION
At this level, the wheel is able to be reinstalled on the bicycle. See Wheel Removing and Set up for assist with this course of.